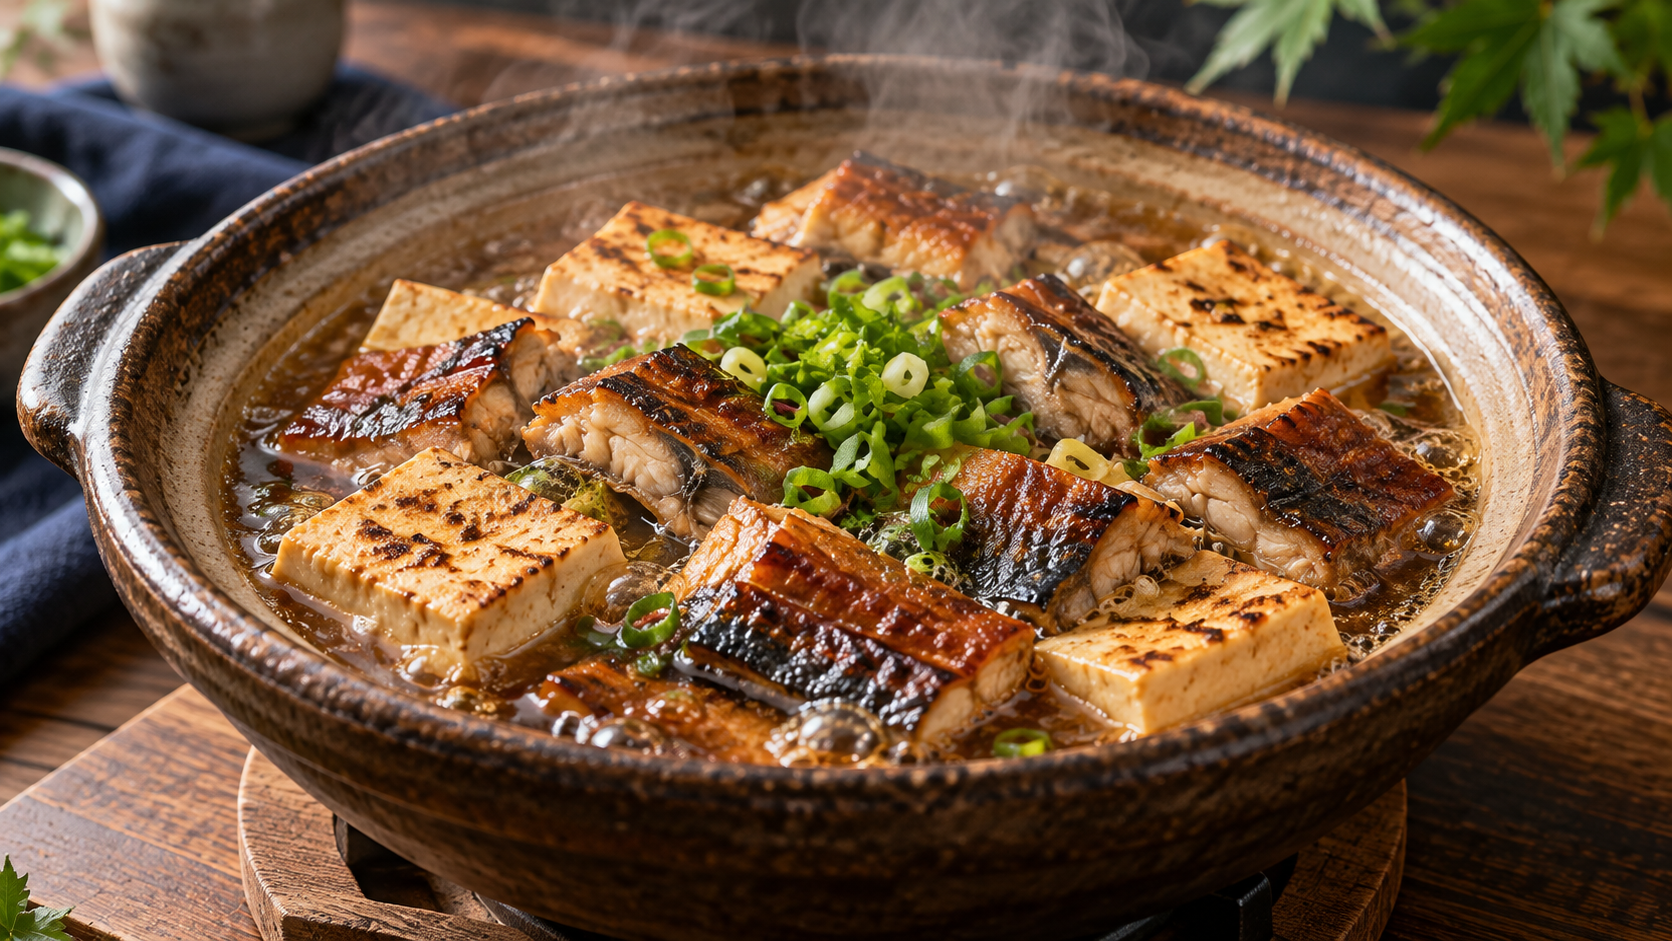
The basic method is to soak the rice, add measured stock and seasonings, lay cooked eel kabayaki on top, cook with the lid on and let the covered pot rest off the heat. Do not transfer a rice cooker's fill lines or timing directly to a small pot: evaporation and heat transfer depend on its walls, lid, capacity and heat source.
The specific example below follows the earthenware-pot instructions in Kamadon Kamameshi's Refreshing Uzaku Kamameshi, published and updated on September 12, 2026, on Nadia. It is a reading of an attributed published recipe, not an independently kitchen-tested UNAGI JAPAN formula. Follow your own pot's manual where applicable.
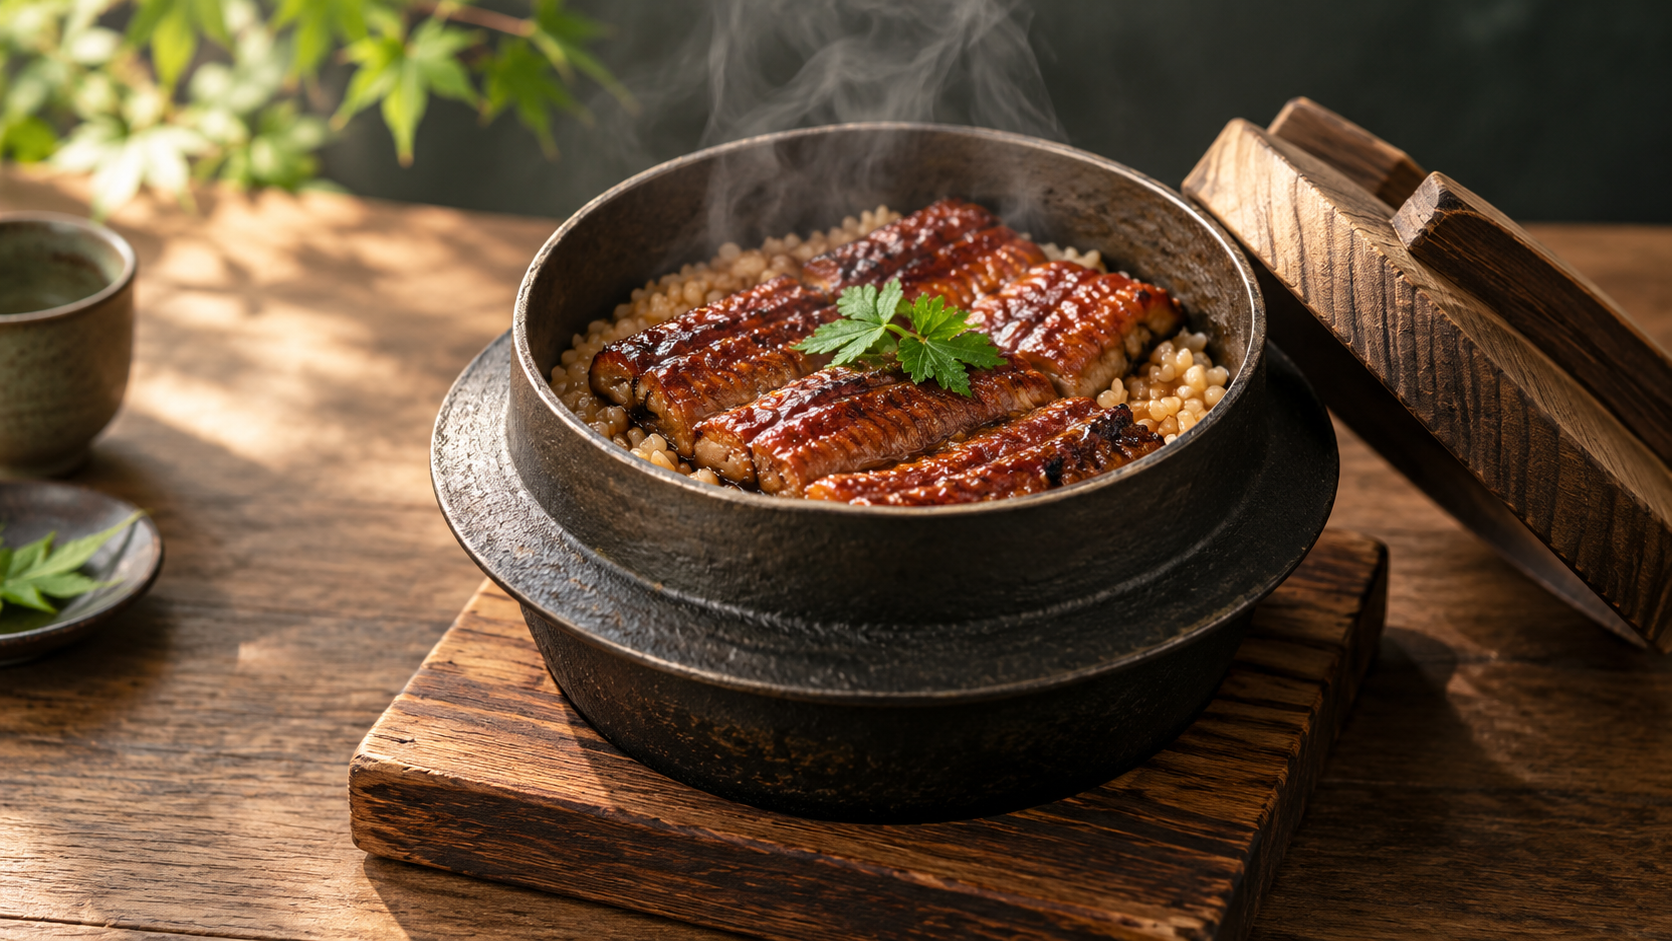
AI-generated editorial illustration, not a photograph of a restaurant dish or an actual cooking test.
Designing the kamameshi
1. Position rice, cooking liquid and eel in one pot
Think of the arrangement as rice at the bottom, measured cooking liquid around it and prepared eel on top. Kabayaki is already seasoned with a glaze, so measure the stock and seasonings, stir them gently into the rice and then arrange the eel. This is a conceptual layout, not a depiction of actual fill levels or quantities. Use the cited quantities in section 3. (1)
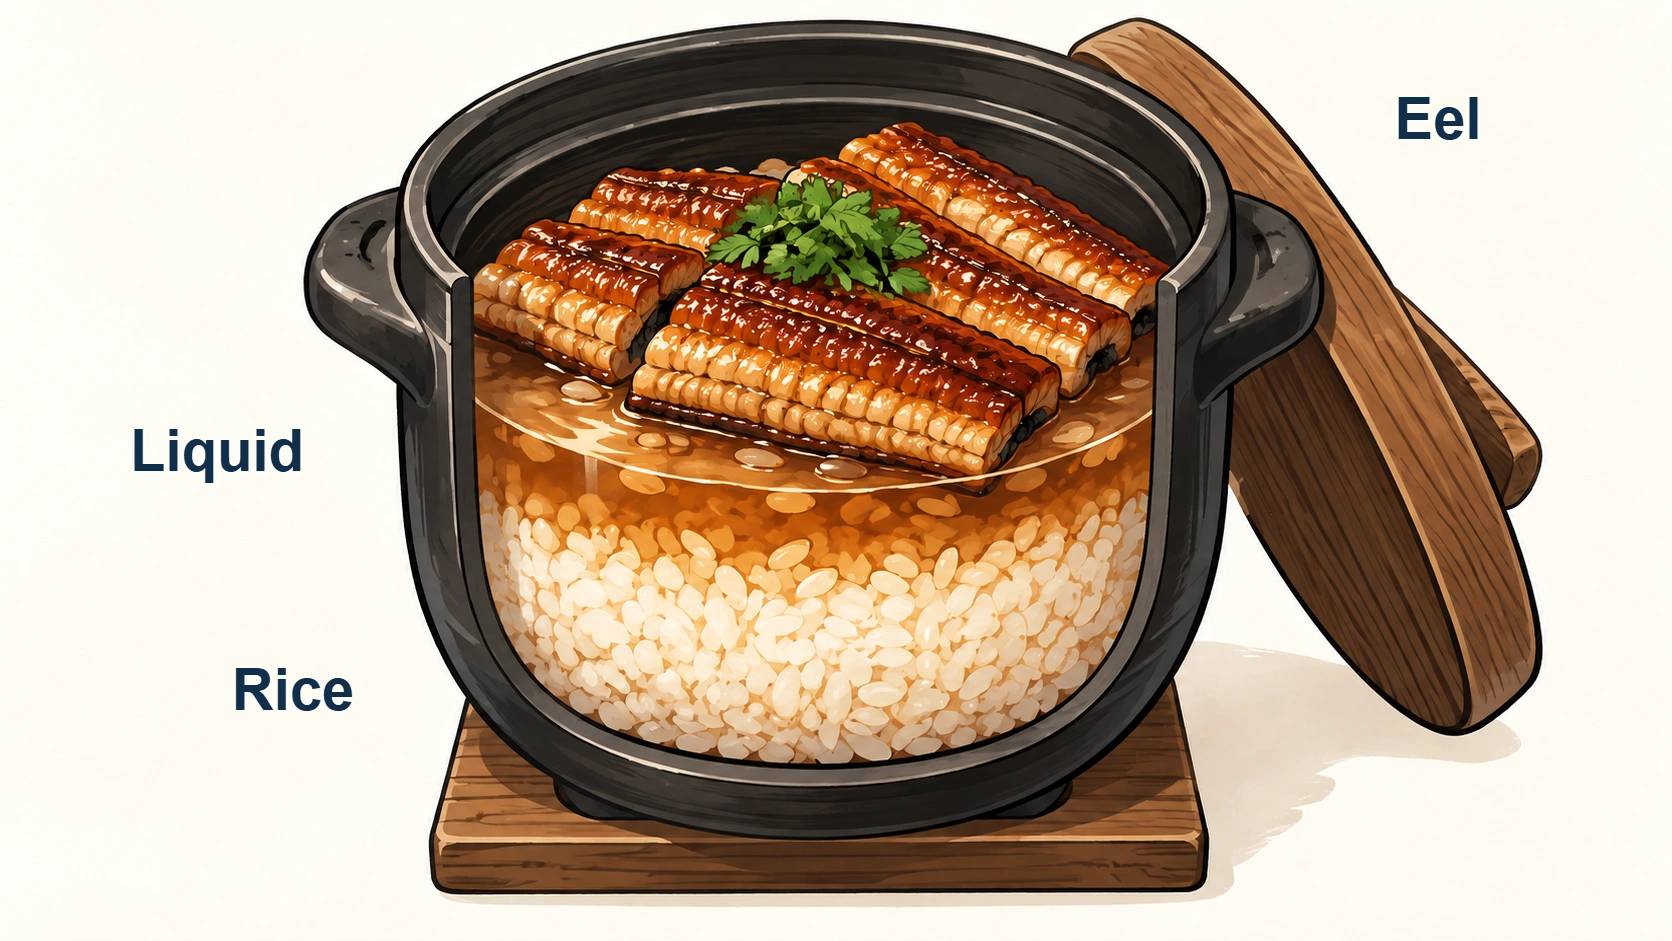
Schematic ingredient arrangement; layer heights are not measurements.
2. Pot thickness, material and heat source change the conditions
A thick-walled pot and a thin-walled pot need not heat their bases in the same way under an apparently identical burner setting. Earthenware, metal, induction-compatible vessels and solid-fuel mini-pots have different operating requirements. Medium heat, low heat and 15 minutes are not universal settings. Japan's Ministry of Agriculture, Forestry and Fisheries (MAFF) also notes that water addition depends on the cooking vessel. (3)
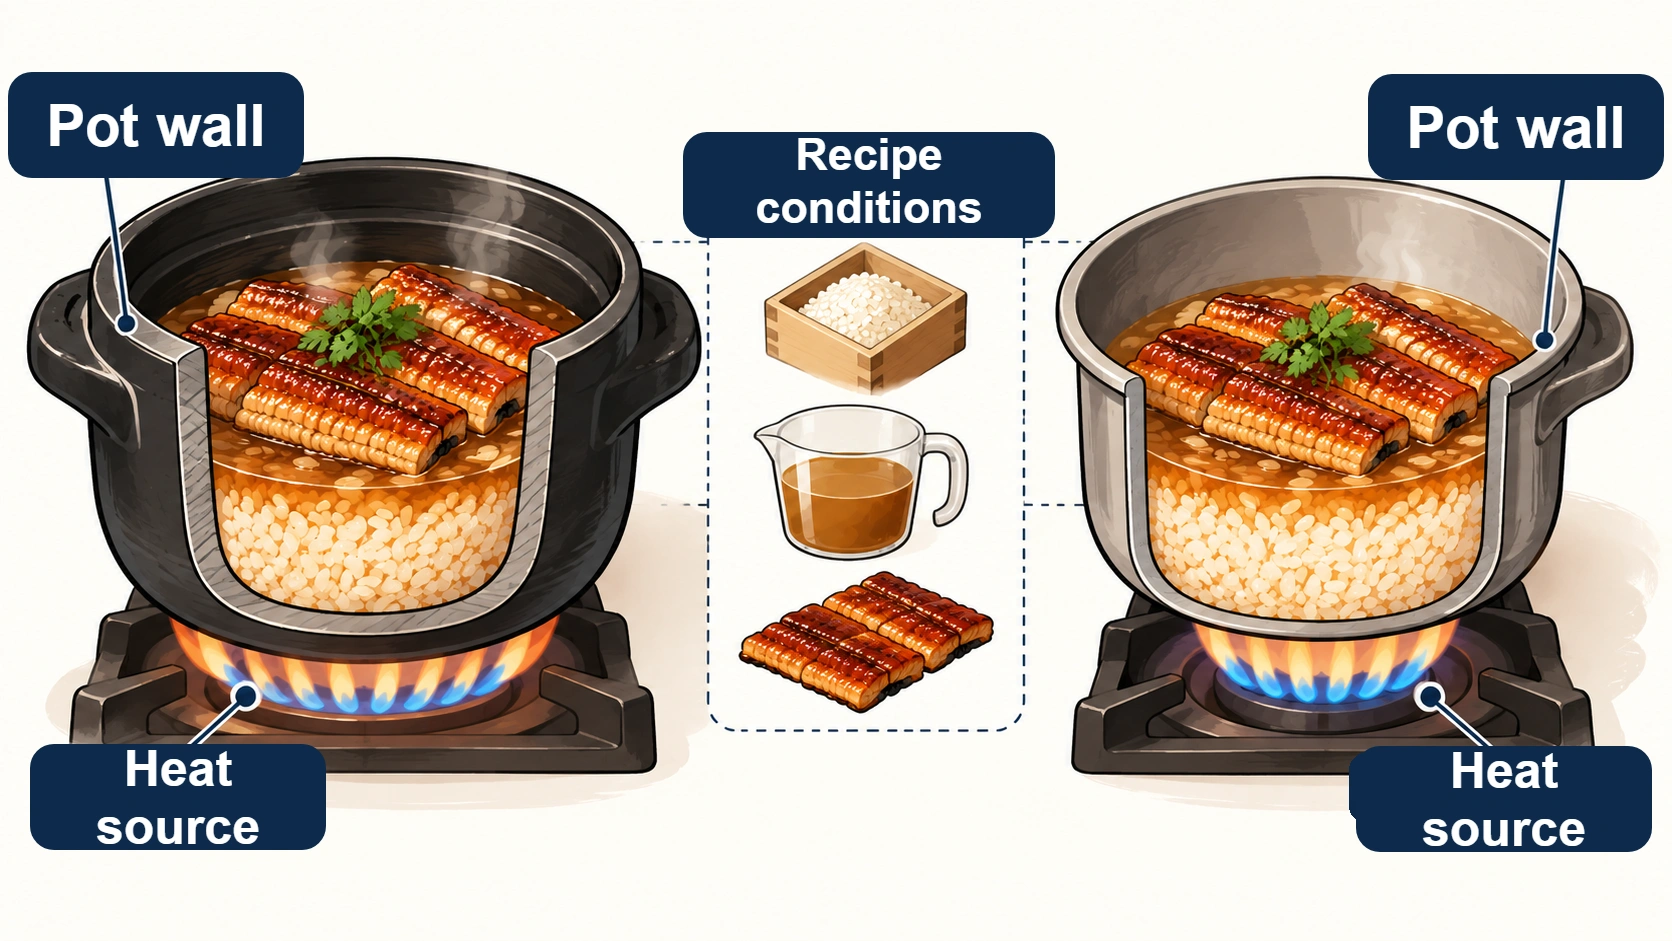
Conceptual comparison, not measured temperatures or performance scores.
Preparing to cook
3. Measure the liquid for one go of rice
This is the rice component for two servings in the cited pot/earthenware recipe; its separate vinegared side dish is omitted here. One Japanese go is 180 mL of dry rice by volume, about 150 g of polished rice. A Japanese tablespoon is 15 mL and a teaspoon 5 mL; do not silently substitute different national spoon sizes. (1, 3, 5)
The cited recipe adds those seasonings in addition to the 160–180 mL of stock; it does not say to top up the combined liquids to that volume. Wash and soak the rice. MAFF's general rice guidance gives at least 30 minutes, preferably 60 minutes, for presoaking; avoid prolonged soaking in high temperatures. (1, 3)
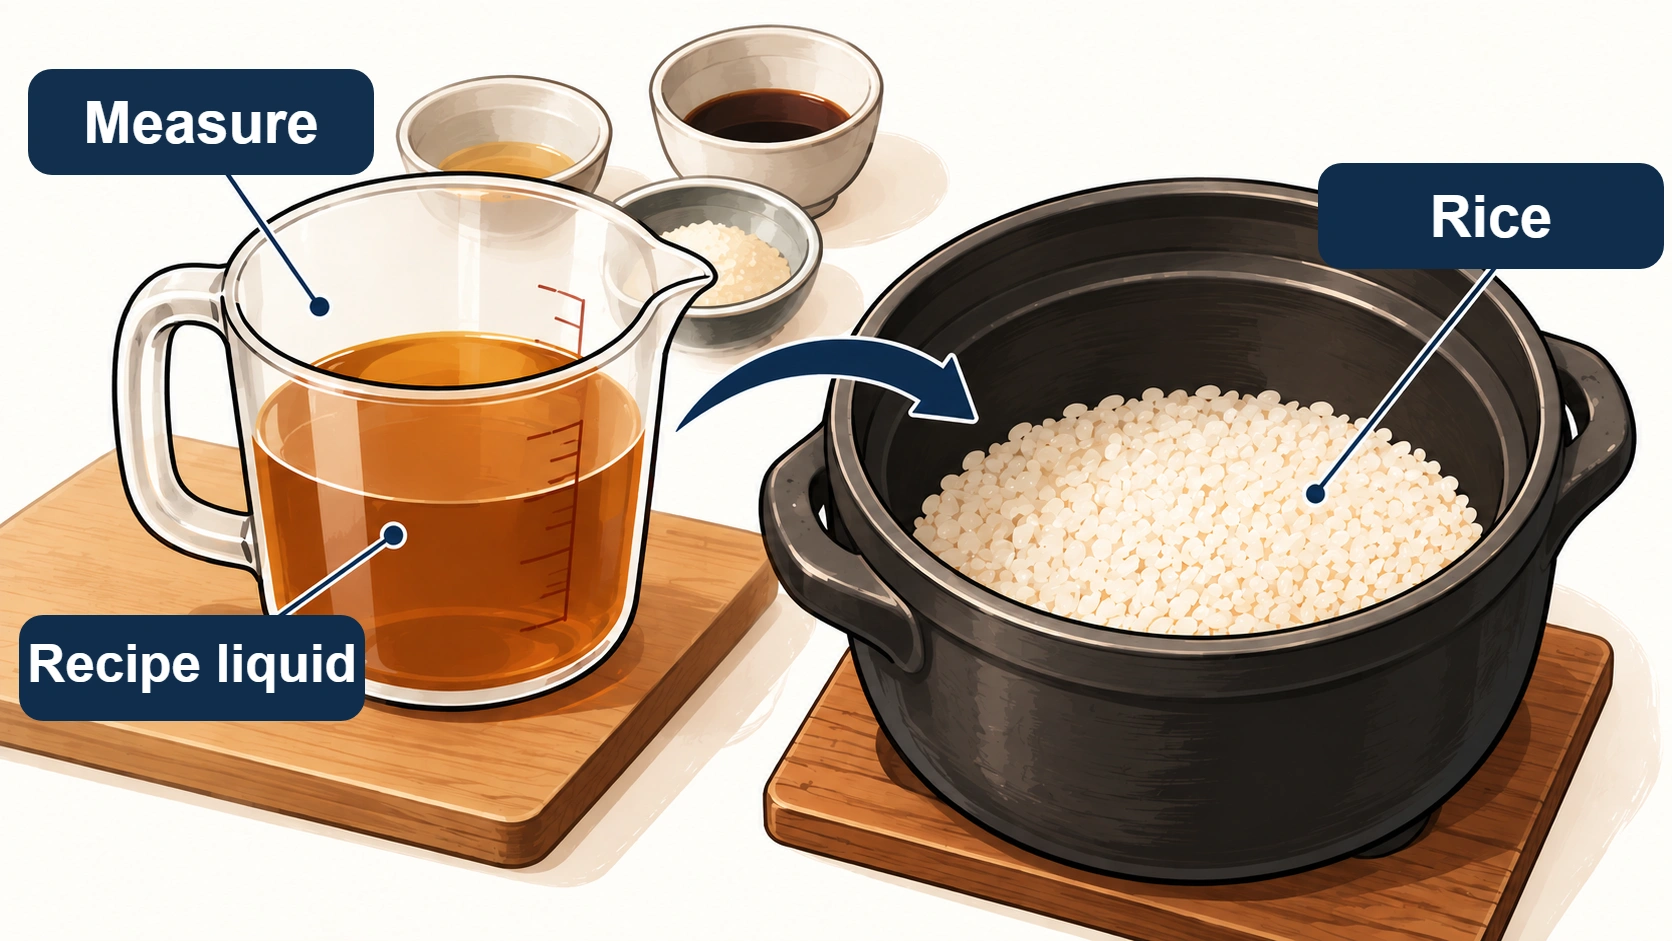
Measuring illustration; the drawing's graduations are not an actual reading for this recipe.
4. Arrange eel above the rice without pressing it down
Put the soaked rice in the pot, add kombu stock, sake, kabayaki sauce and soy sauce, then stir lightly. Cut 70 g of kabayaki to fit, shred 5 g of ginger and place both on top. Avoid packing down the rice or forcing toppings onto the base; leave room for the lid to close properly. Ingredients and their order come from the original pot recipe; not pressing the rice is a handling precaution.
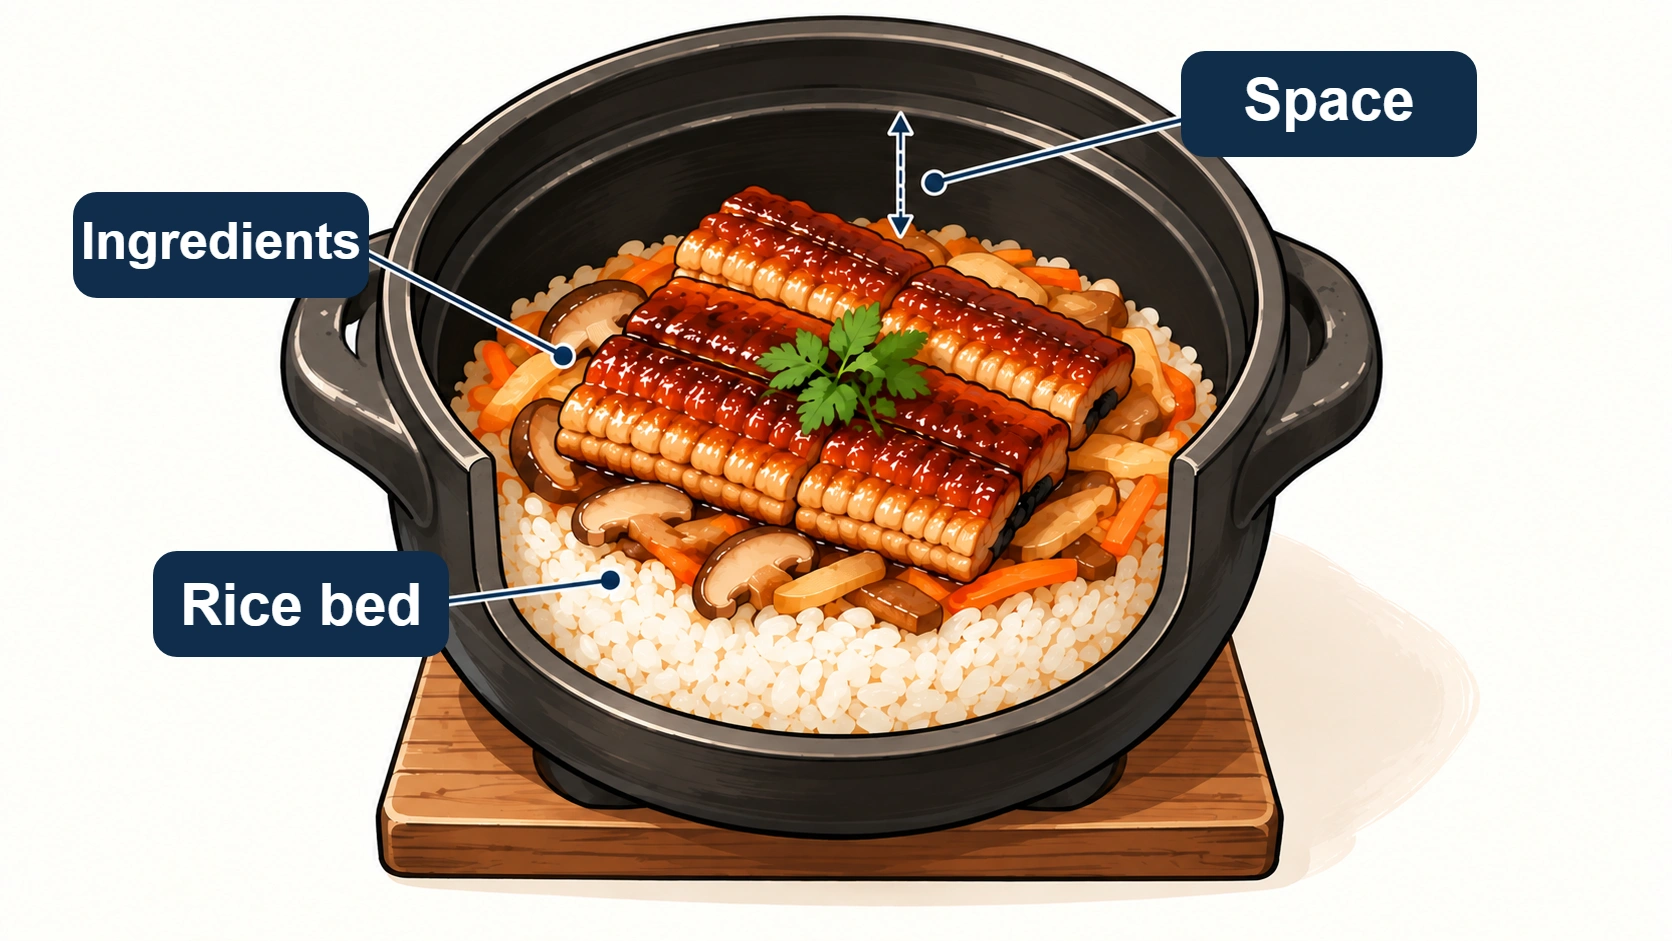
Layout schematic. The pictured mushrooms and carrots are not ingredients specified by the cited recipe. Adding them calls for reassessing liquid and heating conditions.
Cooking and resting
5. Cover, bring to a boil and reduce to low heat
For an earthenware pot, the source says to heat covered over medium heat until boiling, then cook on low for about 15 minutes. It checks for the absence of free liquid before ending the cooking stage. These timings are not guarantees for different pot sizes or burners, and they must not be confused with the solid-fuel-pot method. (1)
MAFF separately describes the heating, boiling, low-heat cooking and resting phases of pot-cooked rice. Once little liquid remains, gentler heat helps avoid burning. (3)
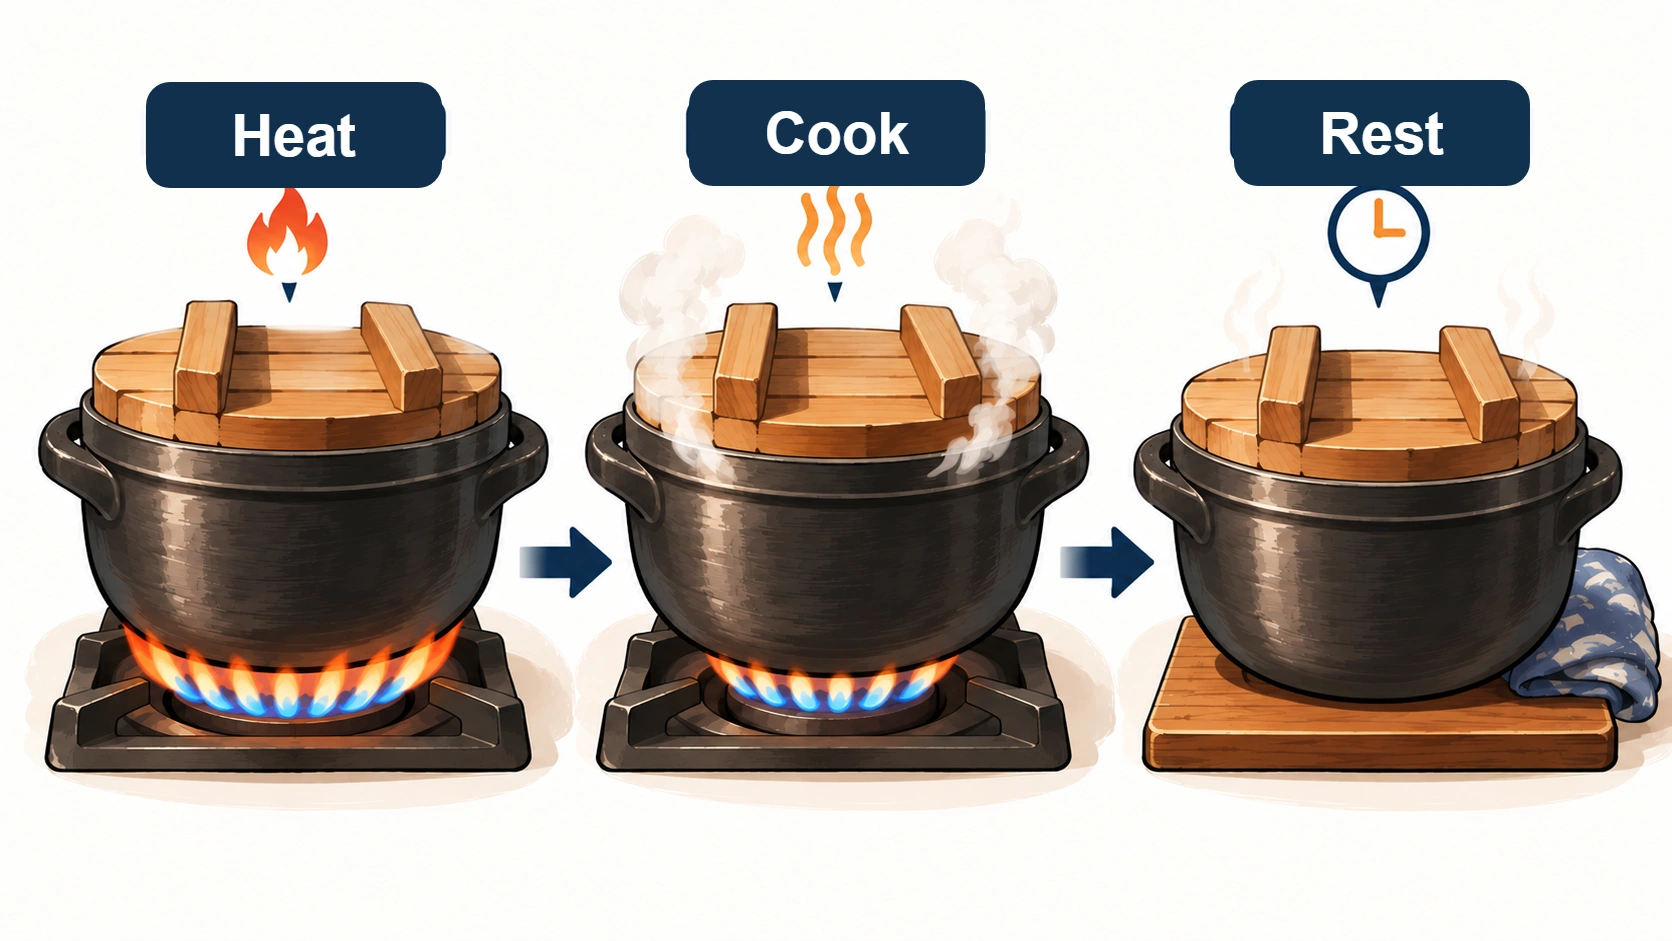
Process illustration; flame size is not a measured heat setting.
6. Rest off heat with the lid closed for about 10 minutes
The source rests the cooked rice for 10 minutes with the lid on. MAFF likewise advises approximately 10 minutes after switching off the burner and recommends not opening the lid during resting. Distinguish a brief check at the end of cooking from leaving the lid closed after the heat is off. Escaping steam and the lid can burn skin. (1, 4)
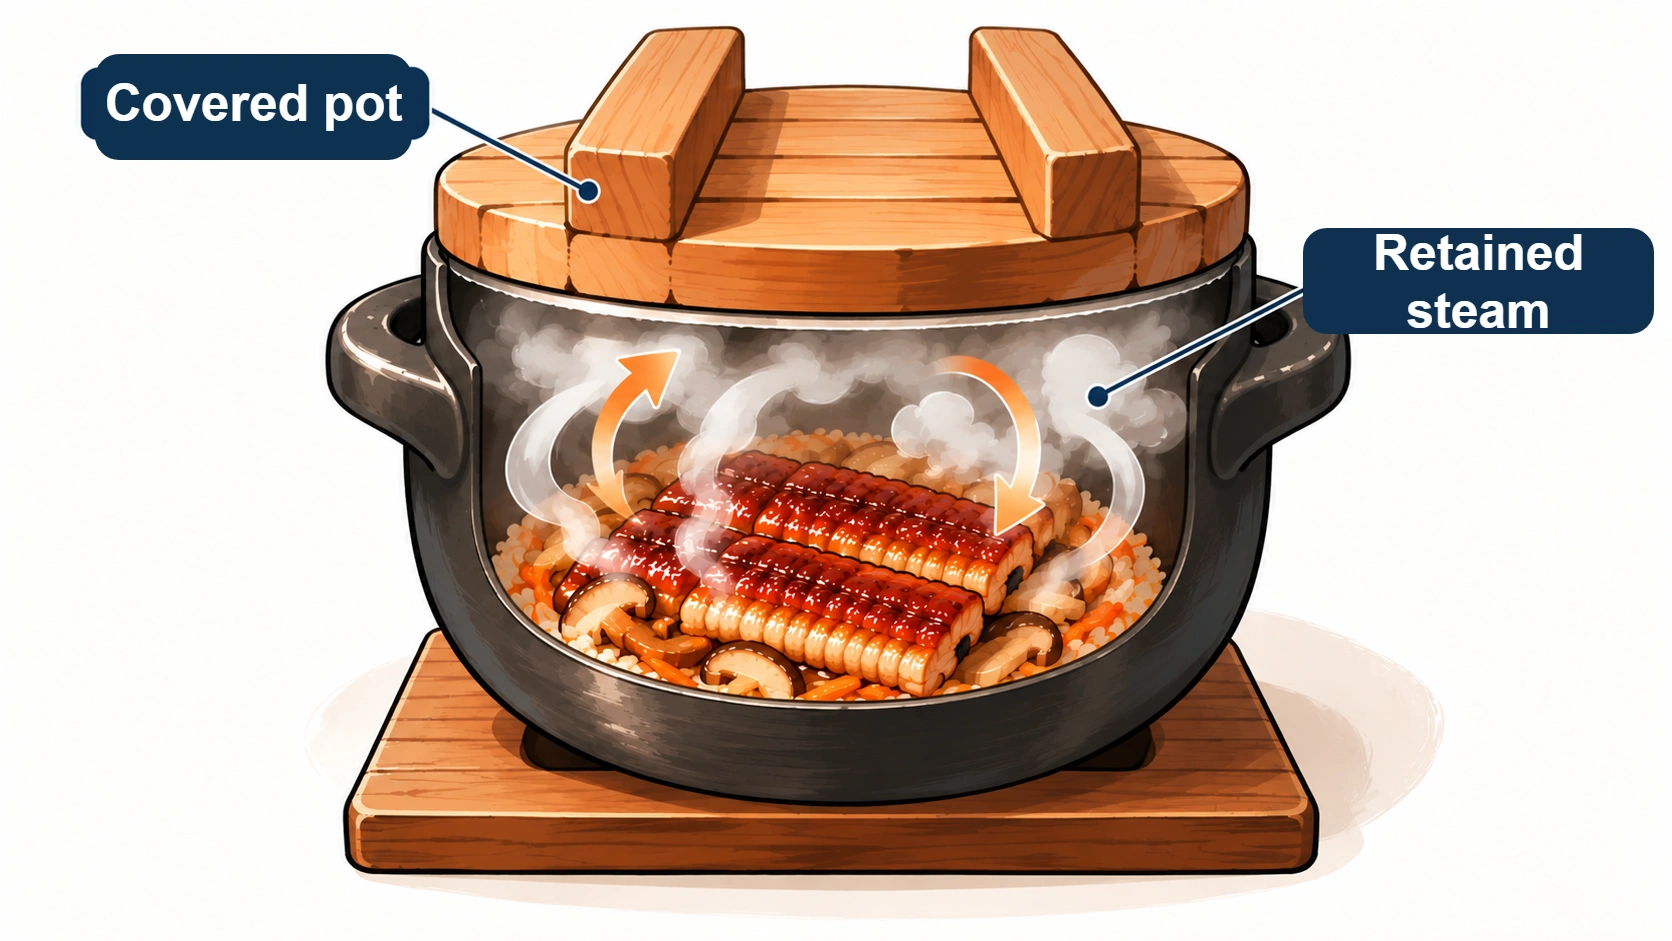
Steam-retention concept, not a measured seal or airflow pattern.
7. Pleasant browned rice is not the same as burning
The base is where overheating can occur after the cooking liquid has largely disappeared. Even if you enjoy a light okoge crust, do not aim to blacken the rice. If there is a strong burning smell or other abnormal heating, turn off the heat and follow the appliance's safety instructions. MAFF explicitly advises low heat when little liquid remains in the low-heat cooking phase. (3)
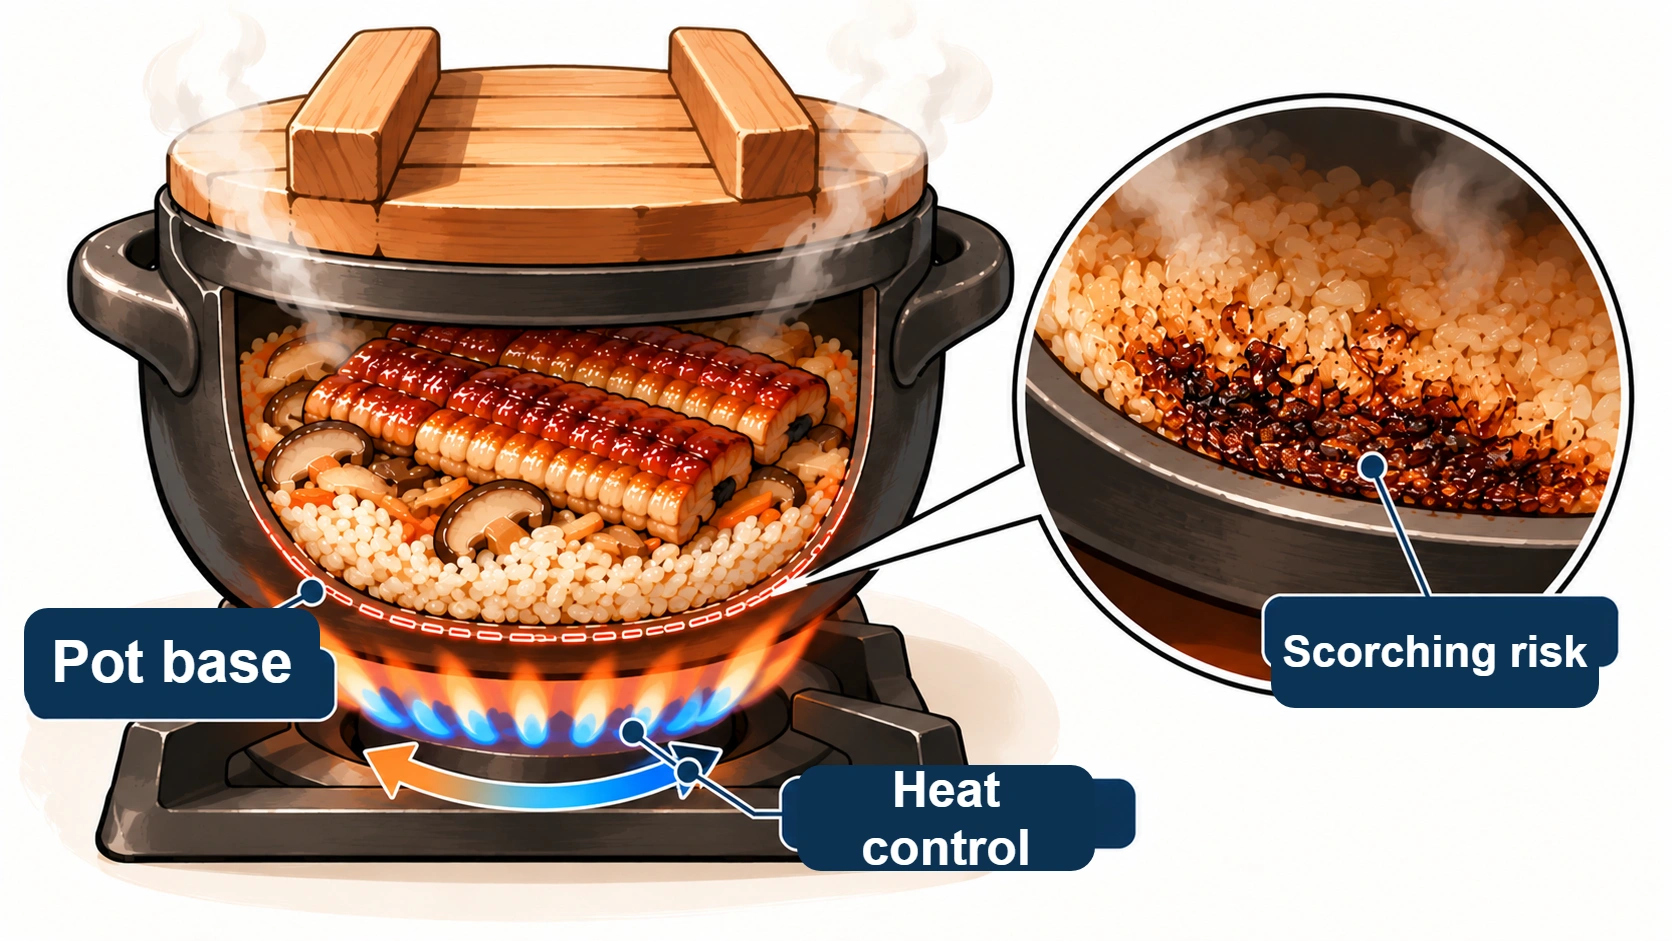
An explanation of where scorching may occur, not a temperature or frequency measurement.
At the table
8. Lift from the bottom, fold gently and serve
After resting, temporarily remove the eel. Slide a rice paddle down the pot's side and lift the rice from underneath, turning it lightly rather than mashing it. Spoon into bowls and return the eel on top. This follows the published recipe and MAFF's description of fluffing rice. Any herbs or vinegared accompaniment should be prepared separately rather than counted as cooking liquid.
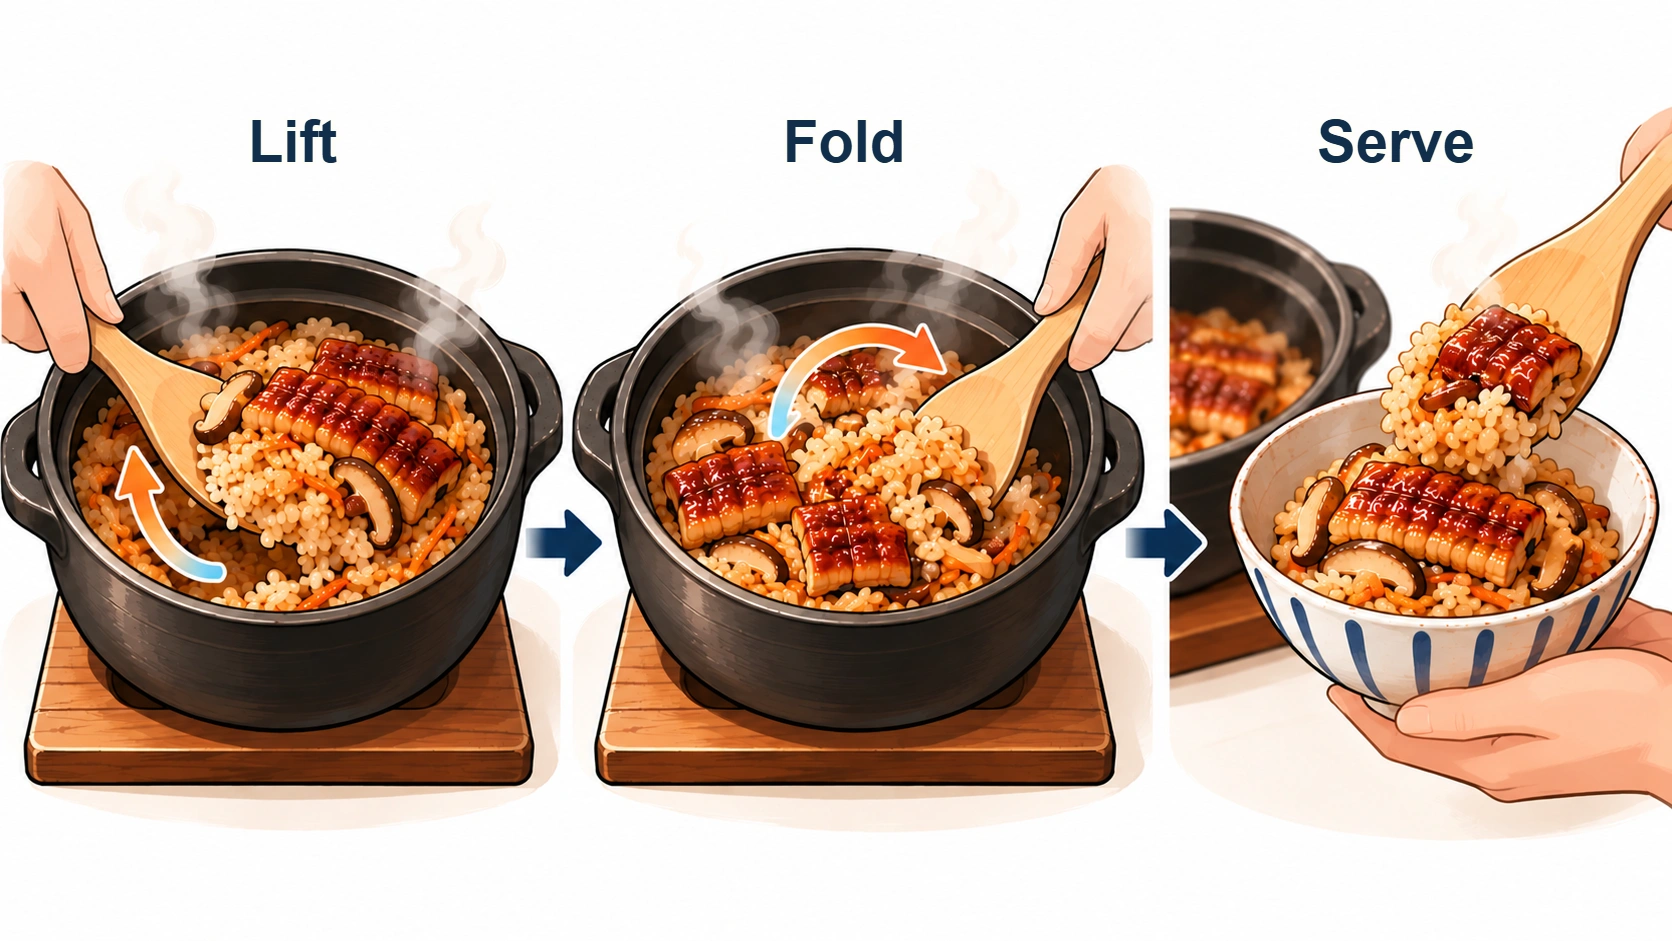
One way to serve without crushing the grains.
9. Put the hot pot on a stable heatproof trivet
Never set a hot pot directly on an unprotected table. Use a stable, heat-resistant trivet and keep hands clear of handles and steam. Check both the vessel instructions and the heat tolerance of the underlying surface.
Follow the commercially prepared eel's labeled storage and reheating instructions; prevent cross-contamination and do not leave cooked food at room temperature for prolonged periods. Japan's Ministry of Health, Labour and Welfare cites 75°C at the center for at least one minute as a general thorough-heating guide in household cooking. A 10-minute resting period does not demonstrate that this threshold was met. Divide leftovers into clean, shallow containers for prompt cooling, suitable storage and adequate reheating; no universal safe storage duration is asserted here. (6)
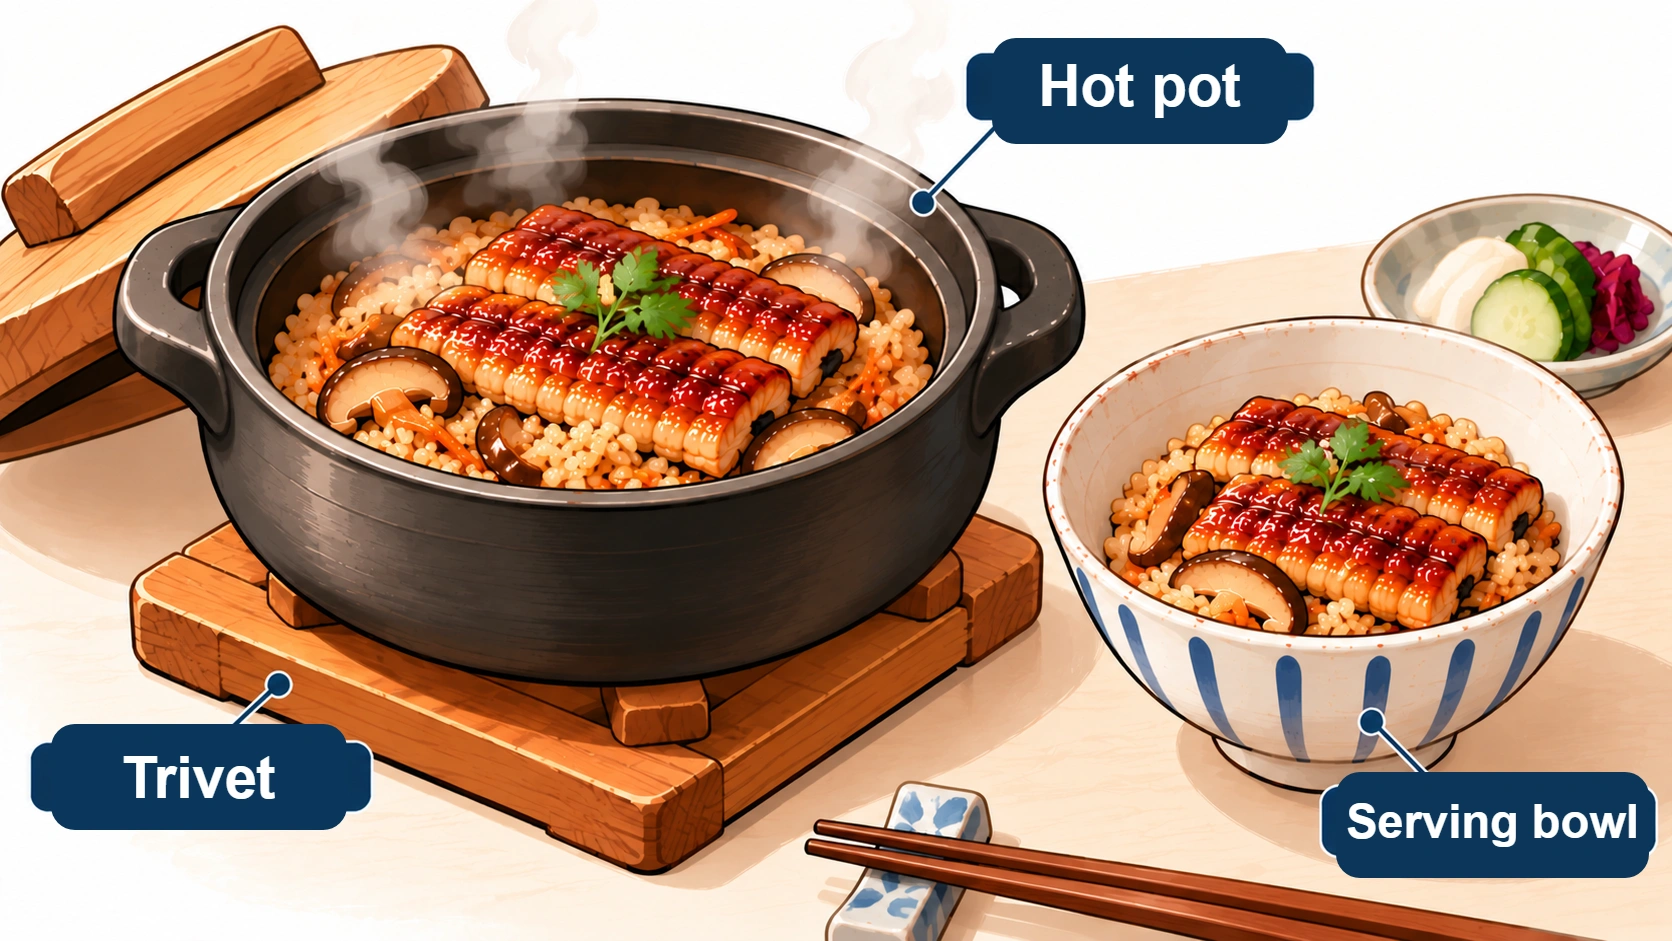
Serving-position illustration; it is not a safety certification for the depicted equipment.
Sources
1. Kamadon Kamameshi, “Refreshing Uzaku Kamameshi,” Nadia (September 12, 2026; two servings; earthenware-pot directions) — Source of 1 go, 70 g eel, 160–180 mL stock, heat and rest instructions.
2. Kikkoman, “Eel Mixed Rice” (rice cooker; four servings and 2 go of rice) — Contrast showing why a rice-cooker fill line should not be transplanted to a small pot.
3. MAFF, “Cooking Properties of Rice” (Keiko Shibata; cited references include 2020–2021 editions) — Rice measuring, soaking, liquid and heating stages.
4. MAFF, “Better Ways to Eat Rice Starting Today” (2020) — Resting and gently turning cooked rice.
5. Kikkoman, “Measuring Tools” — Japanese go, tablespoon and teaspoon volumes.
6. Ministry of Health, Labour and Welfare, “Six Tips for Preventing Food Poisoning at Home” — Household handling, serving and leftovers.
Related articles