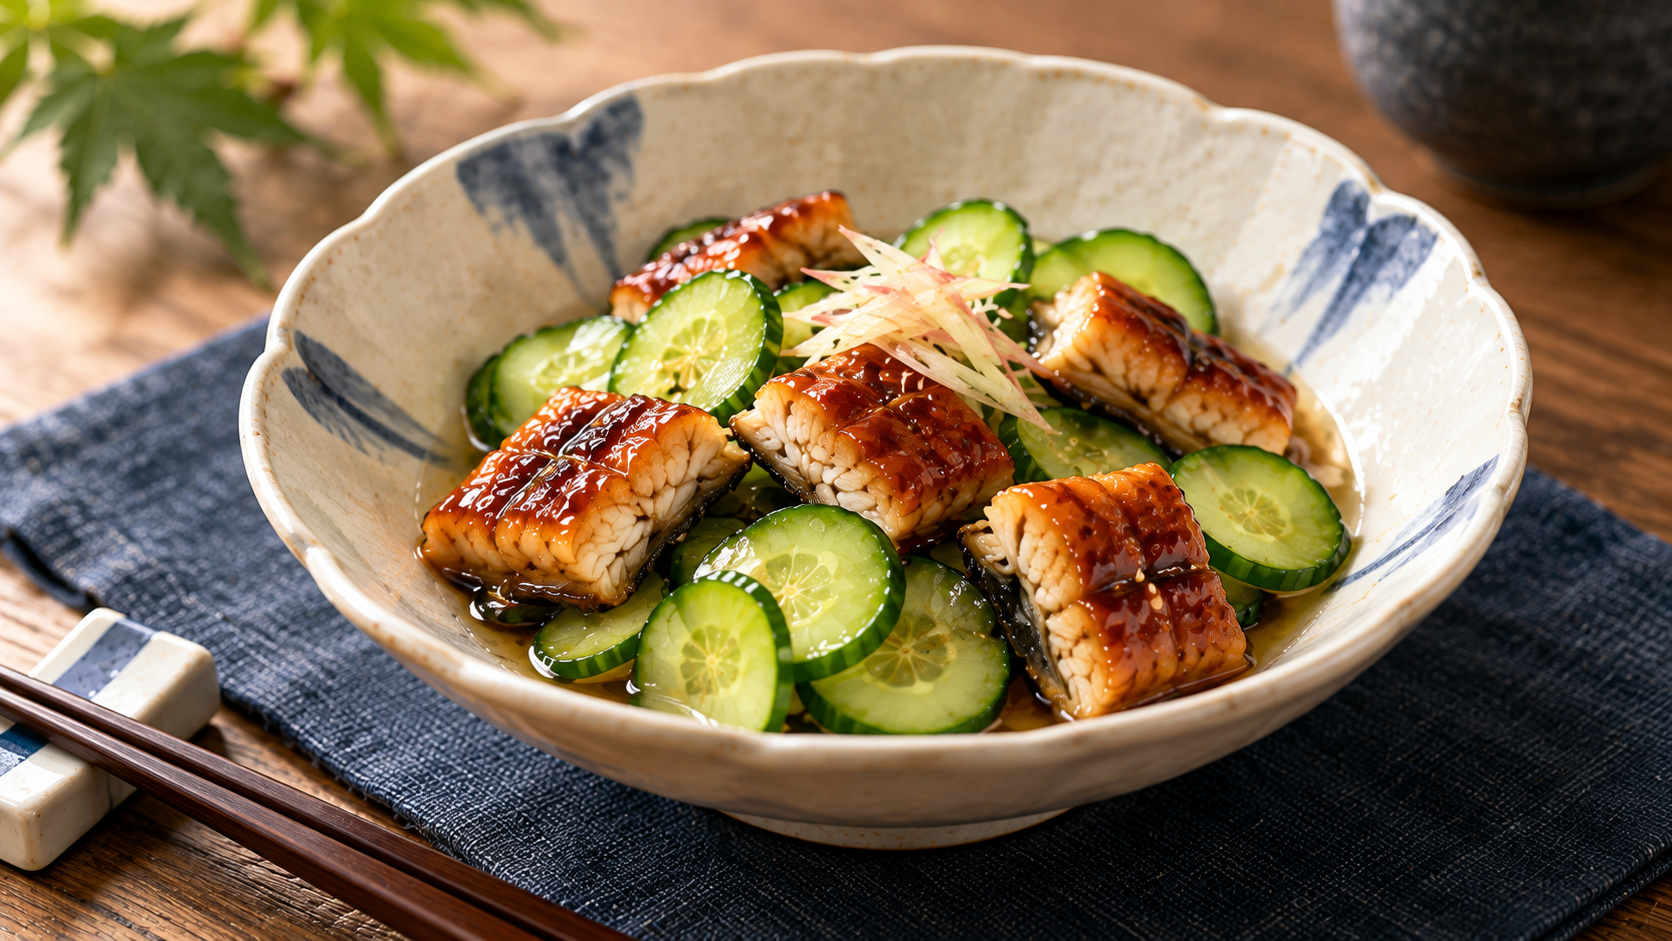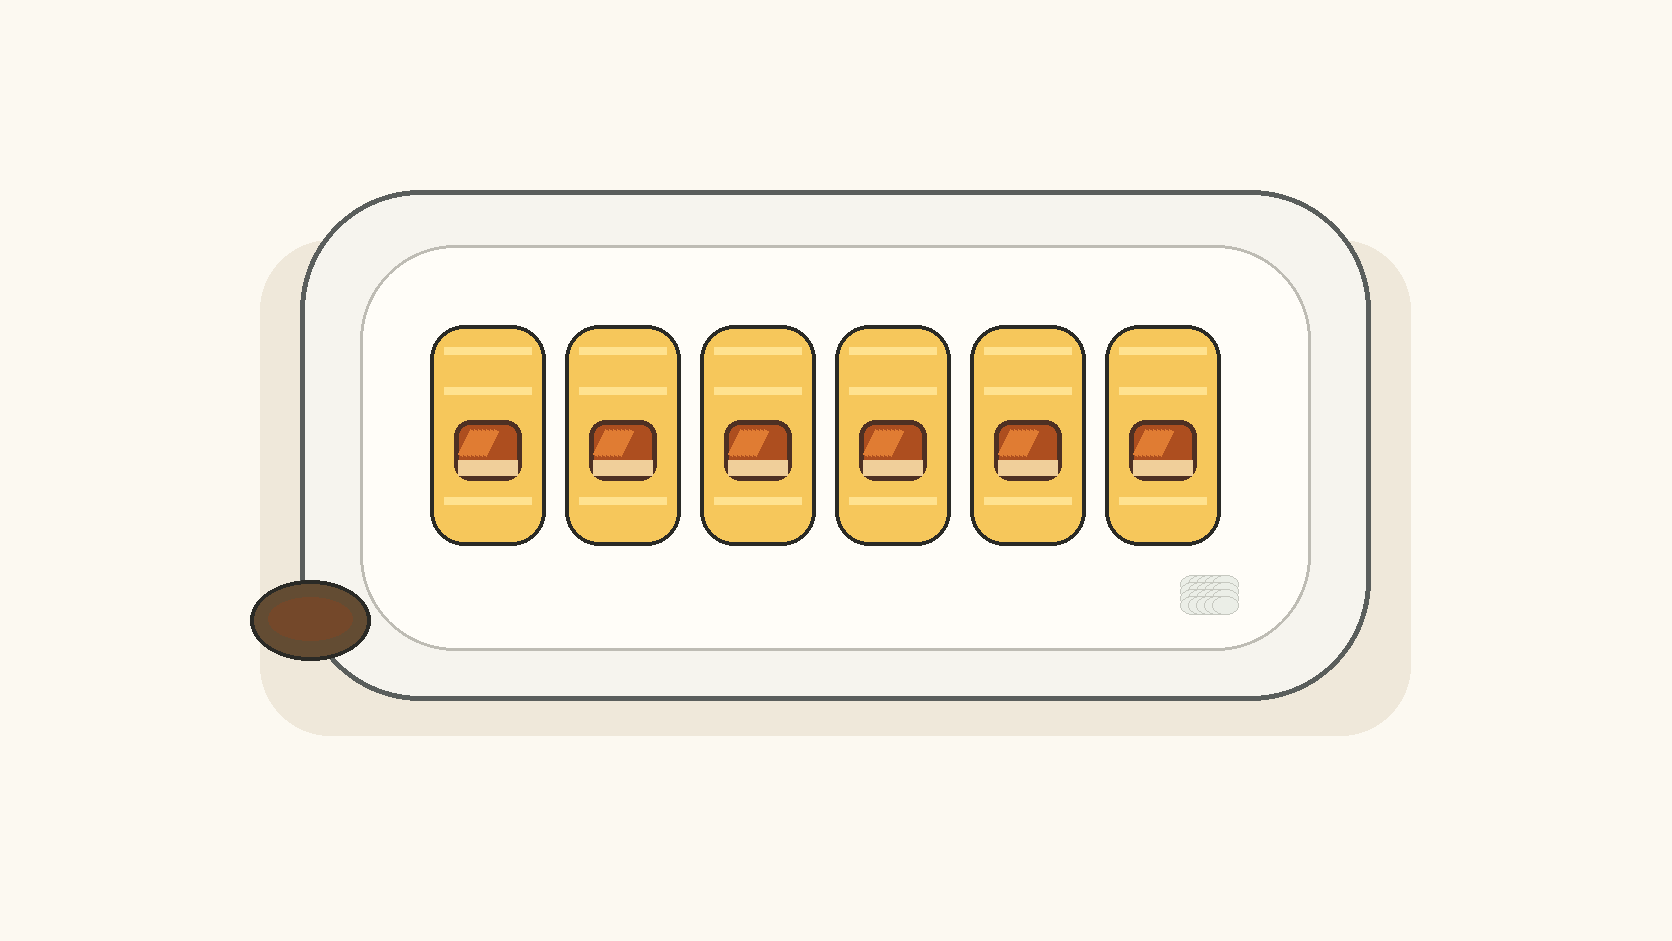
Umaki is a rolled egg dish with kabayaki eel at its core. The quantities and cooking steps below follow a cited official recipe.
The key to making umaki at home is to warm and cut the kabayaki first, cook the seasoned egg mixture in small additions, and place the eel on the first egg layer while it is still half-set. That first roll becomes the core; more egg is then added one ladleful at a time and rolled in layers, much like dashimaki tamago.
This guide uses Kikkoman’s official “Umaki Tamago” recipe for two as its practical baseline. The source lists a 20-minute cooking time, 1/2 skewer of kabayaki eel, and 4 eggs. It instructs cooks to wrap the eel in foil, warm it in a toaster oven for 4–5 minutes, remove the skewer, and cut the eel into 1 cm-wide pieces. The diagrams below are explanatory schematics; they do not add unsupported heat settings, dimensions, timings, or success rates.
Source-backed numbers take priority. Visual ideas such as a “thin layer,” a starting position, or a rolling direction are editorial aids unless the cited recipe itself gives a fixed measurement.
Ingredients and tools
1. Understand the eel core first
In the finished roll, the kabayaki forms the central core and cooked egg layers wrap around it. The source does not specify an “ideal core thickness.” For the actual cut, use the cited instruction of 1 cm-wide pieces rather than treating the diagram as a measurement.
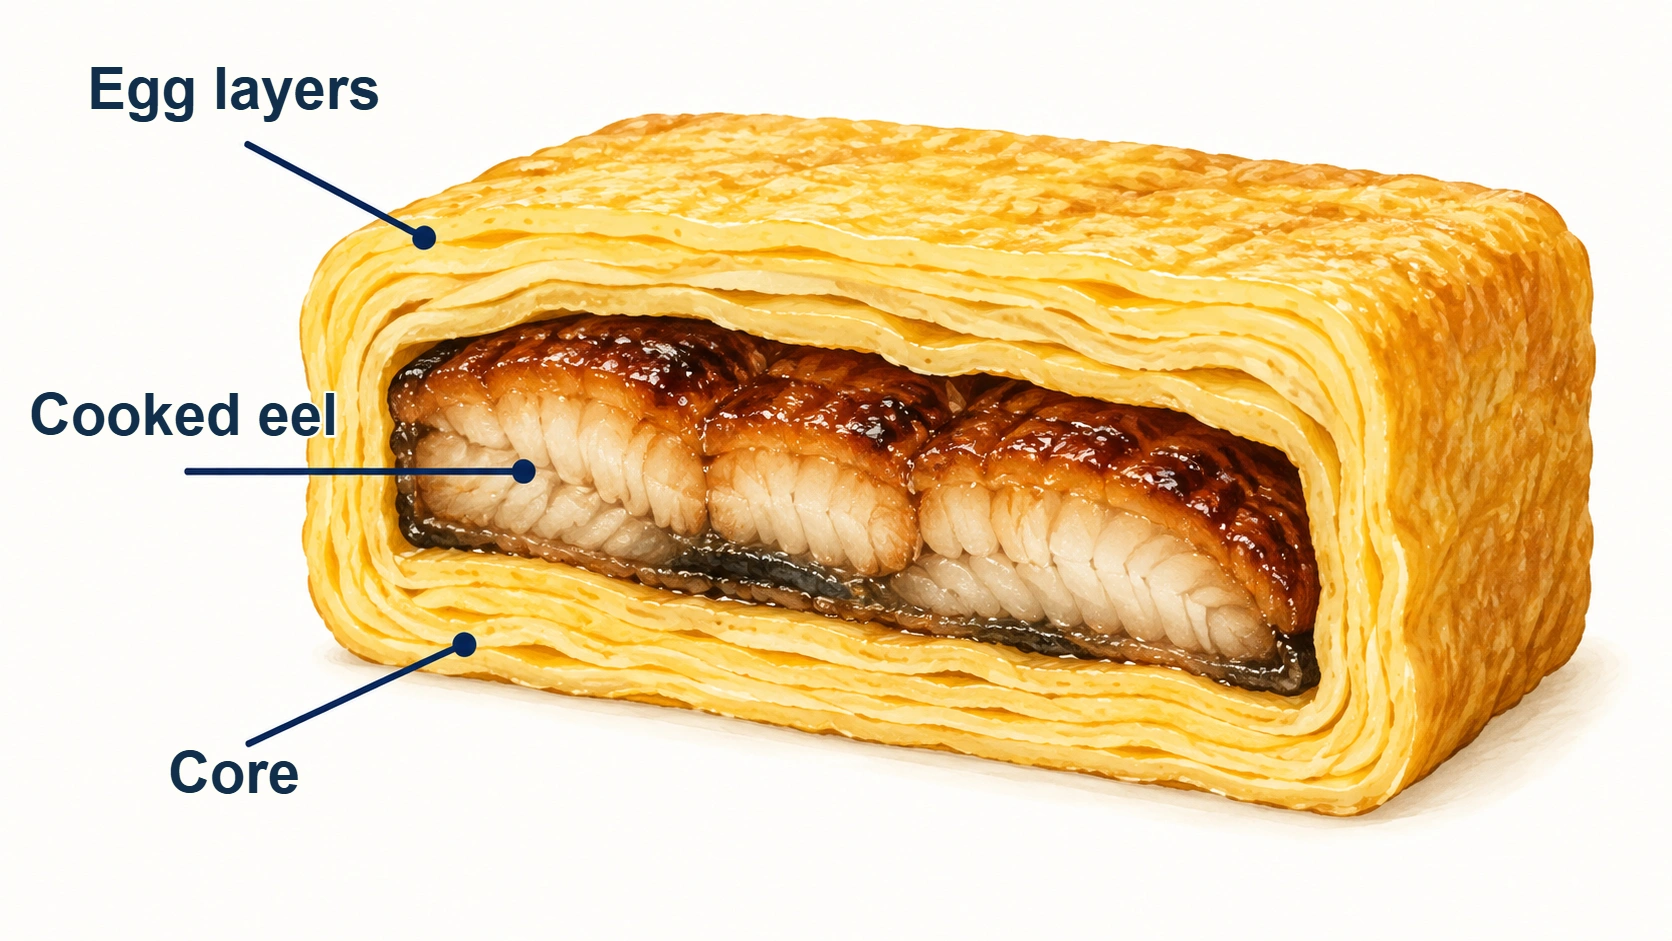
Diagram 01: The basic structure, with kabayaki as the core and egg layers around it.
2. Ingredients for 2 servings
The amounts below reproduce the Kikkoman recipe. Where the original names a branded seasoning, the table uses the generic ingredient type without changing the quantity.
In Kikkoman Home Cooking notation, 1 cup is 200 mL, 1 tablespoon is 15 mL, and 1 teaspoon is 5 mL. Therefore the 1/4 cup of water in this recipe is 50 mL. Using the mL values avoids silently substituting a different national spoon or cup size.
3. Center the setup on an omelette pan, bowl, ladle, and shaping tools
The official method explicitly calls for an omelette pan, mixing bowl, ladle, kitchen paper, and a bamboo rolling mat. The illustration also shows chopsticks and a spatula to make the work sequence easy to read. A spatula is not an official requirement; it is simply a possible support tool. The source does not fix the pan dimensions, so the illustration is not a scale drawing.
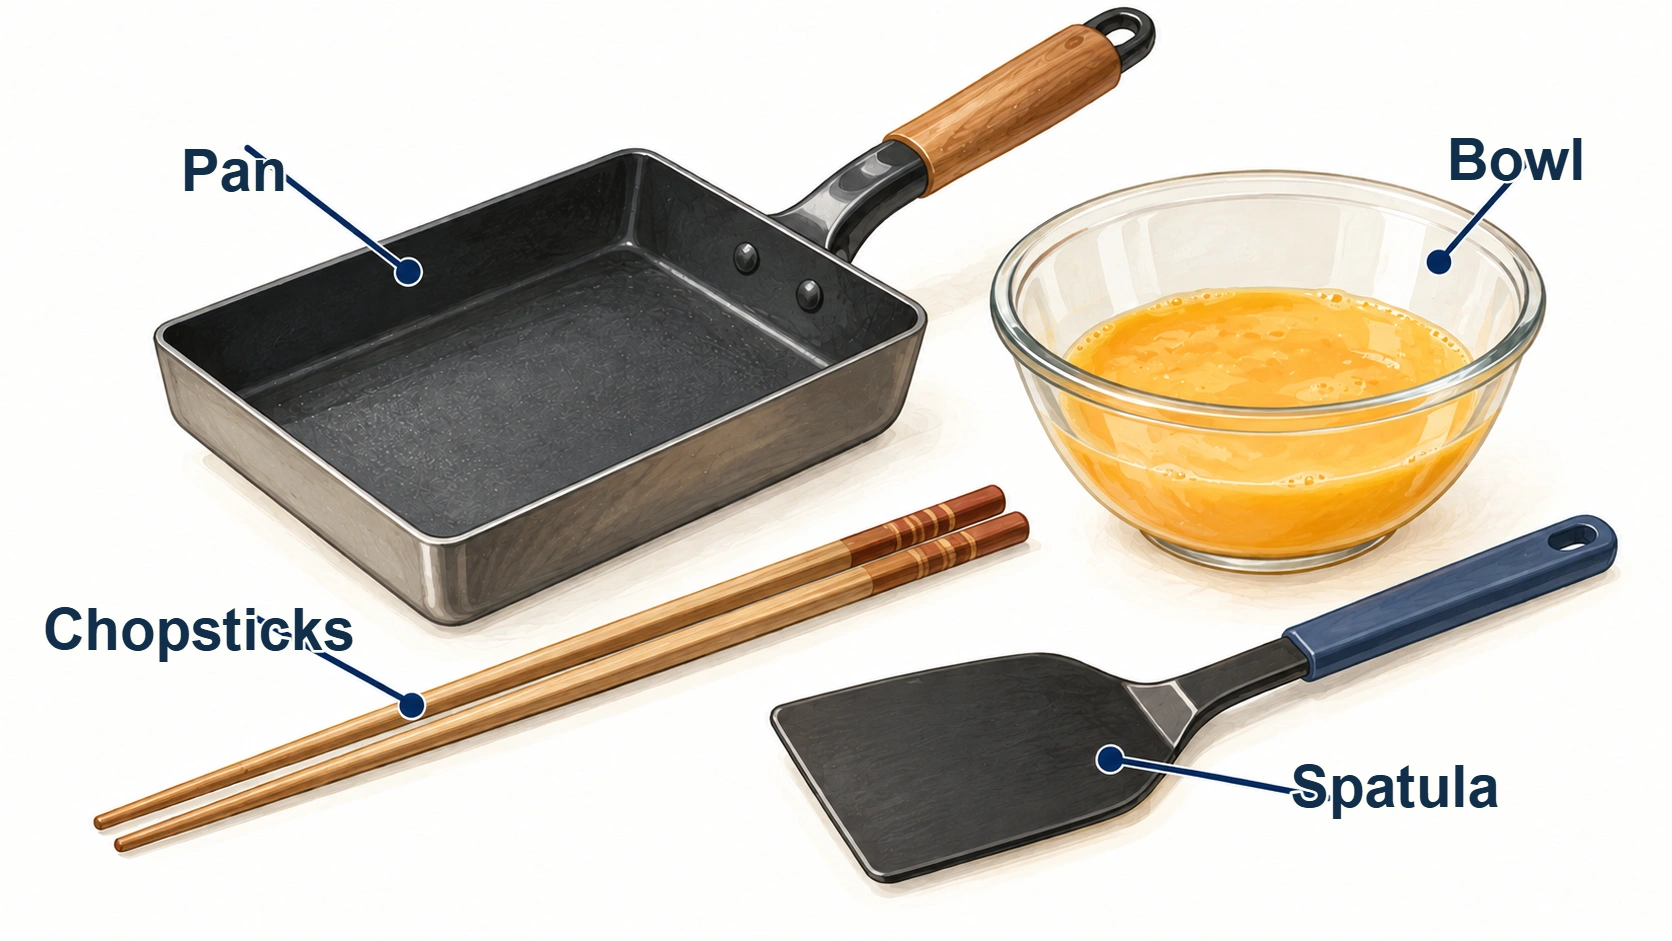
Diagram 02: Main tools and their relationship; not a scale drawing or product specification.
4. Dissolve seasoning A before mixing it into the eggs
Loosen 4 eggs in a bowl. Separately combine 1 teaspoon light-color soy sauce, 1 teaspoon mirin, a little salt, and 1/4 cup water, dissolving the mixture well before adding it to the eggs. That order comes from the official method. The color and apparent liquid proportions in the diagram are schematic, not measured ratios.
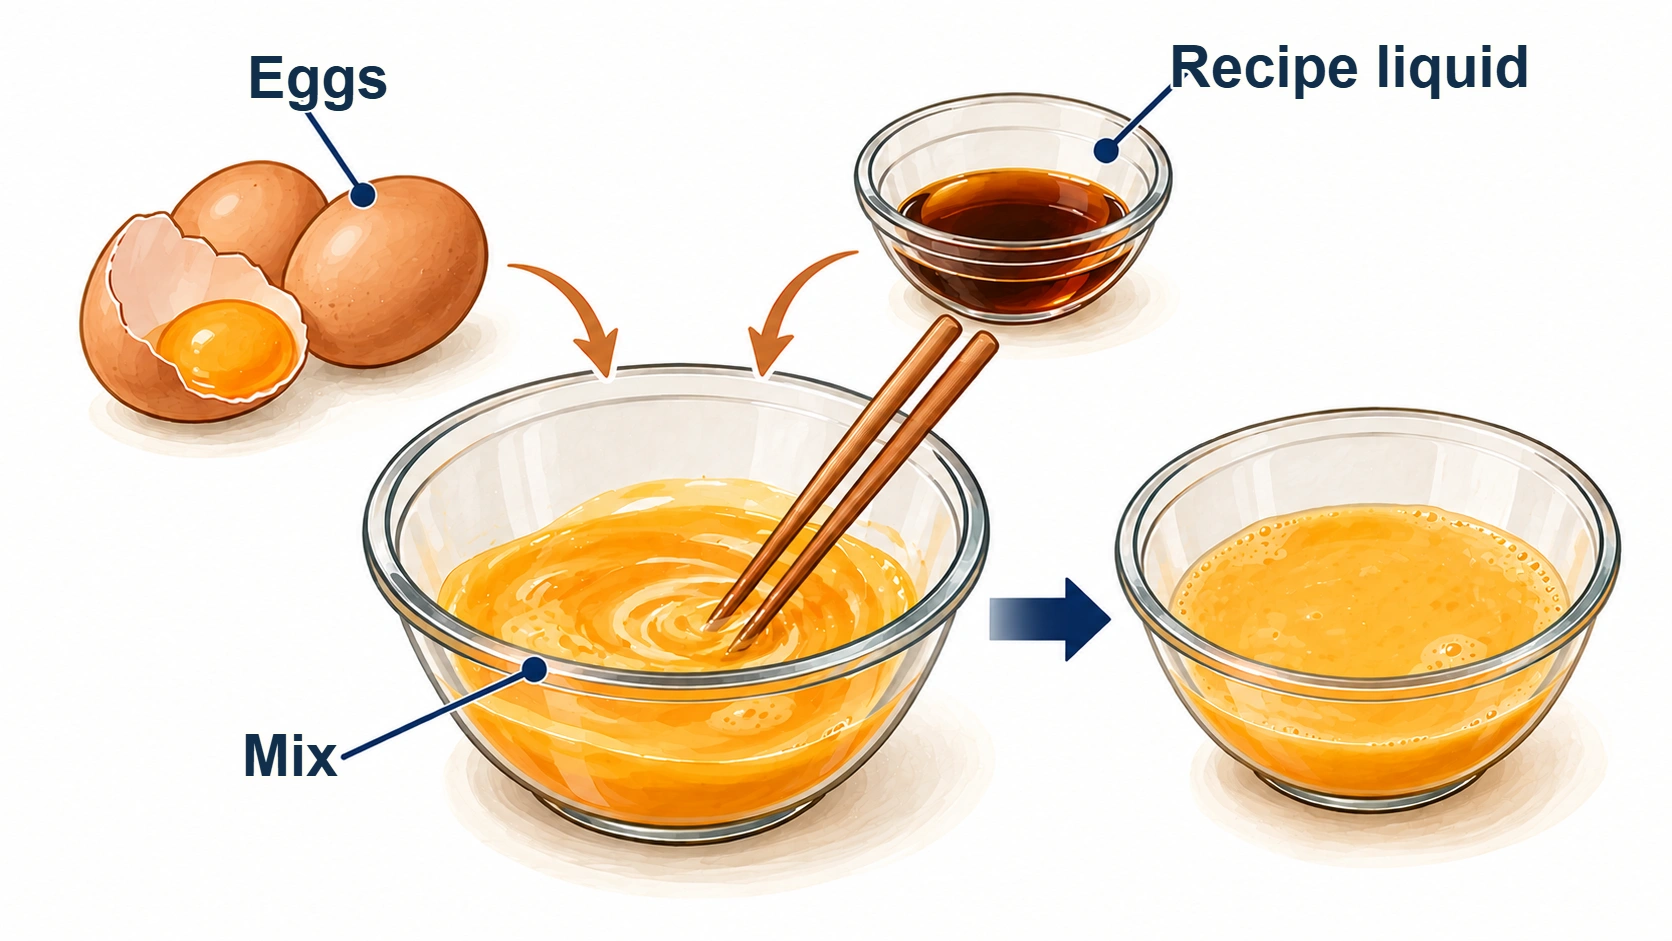
Diagram 03: Dissolve seasoning A and combine it with the eggs; visible ratios are schematic.
Preparation before rolling
5. Warm the kabayaki, remove the skewer, and cut it 1 cm wide
Wrap the eel in aluminum foil and warm it in a toaster oven for 4–5 minutes. Remove the skewer, then cut the eel into 1 cm-wide pieces. Diagram 04 visualizes the practical relationship between the filling and the pan, but the sourced cutting instruction is 1 cm wide. It should not be read as a new rule that the strip must match an exact pan dimension.
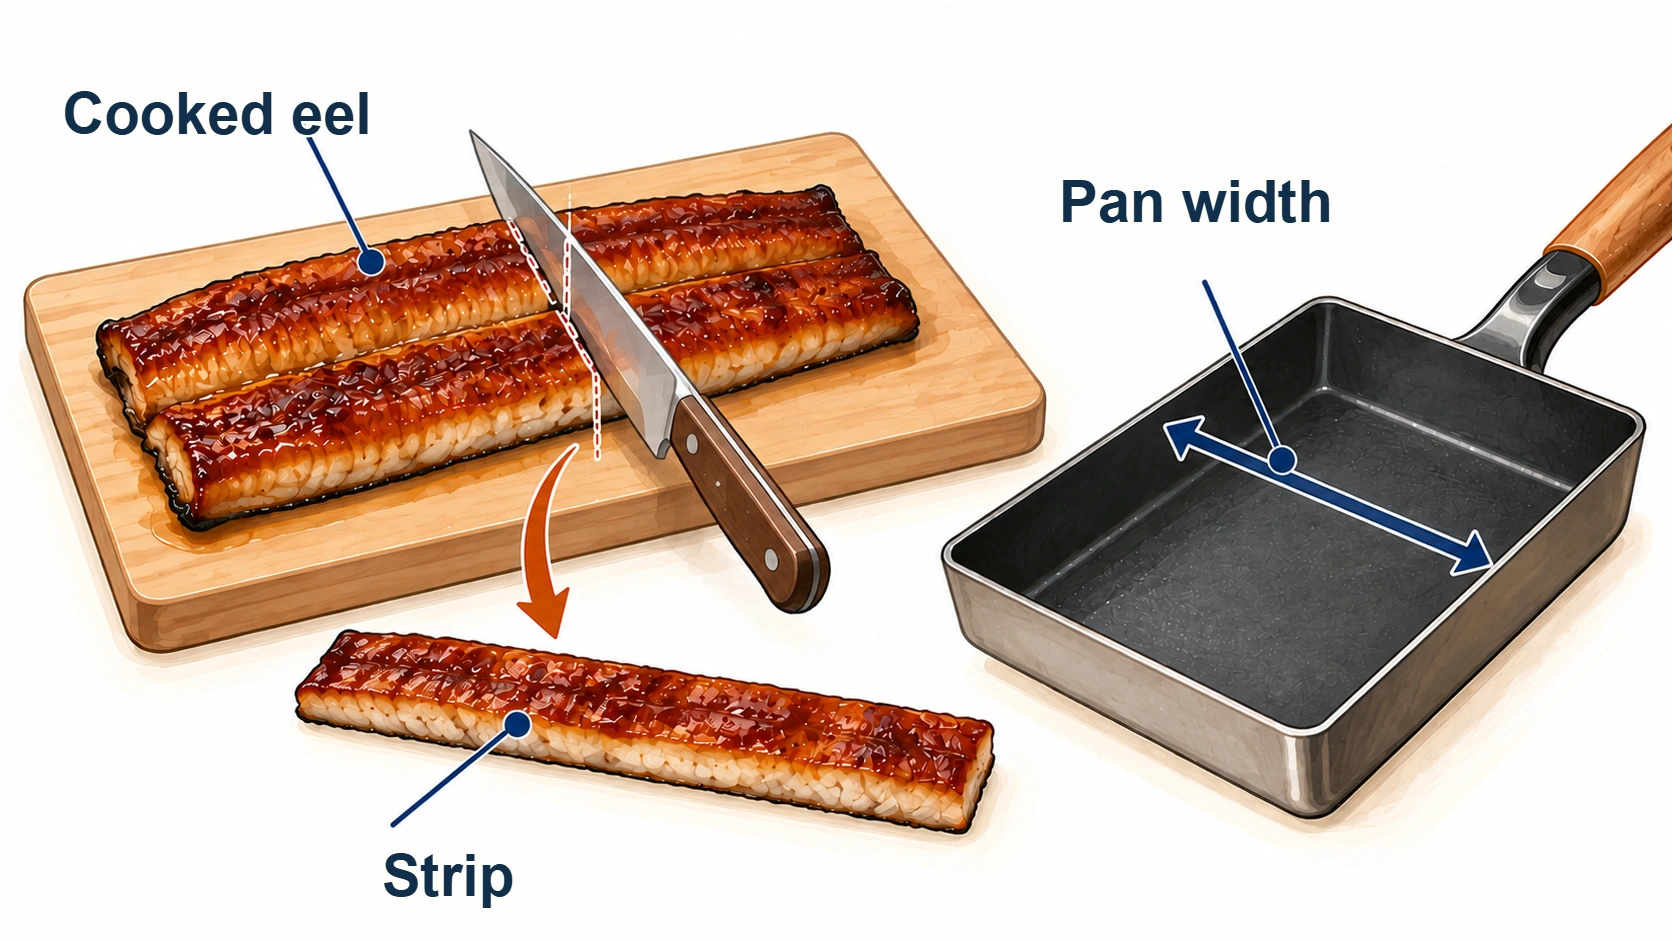
Diagram 04: Preparing the filling; follow the sourced 1 cm cutting instruction in the text.
6. Oil the pan thinly and add one ladleful of egg mixture
Heat the omelette pan and use kitchen paper to apply a thin film of vegetable oil. Pour in one ladleful of egg mixture and cook it. Because the official recipe gives no numbered burner setting or pan temperature, this guide does not invent one. The “thin layer” in the illustration simply represents spreading that ladleful across the pan.
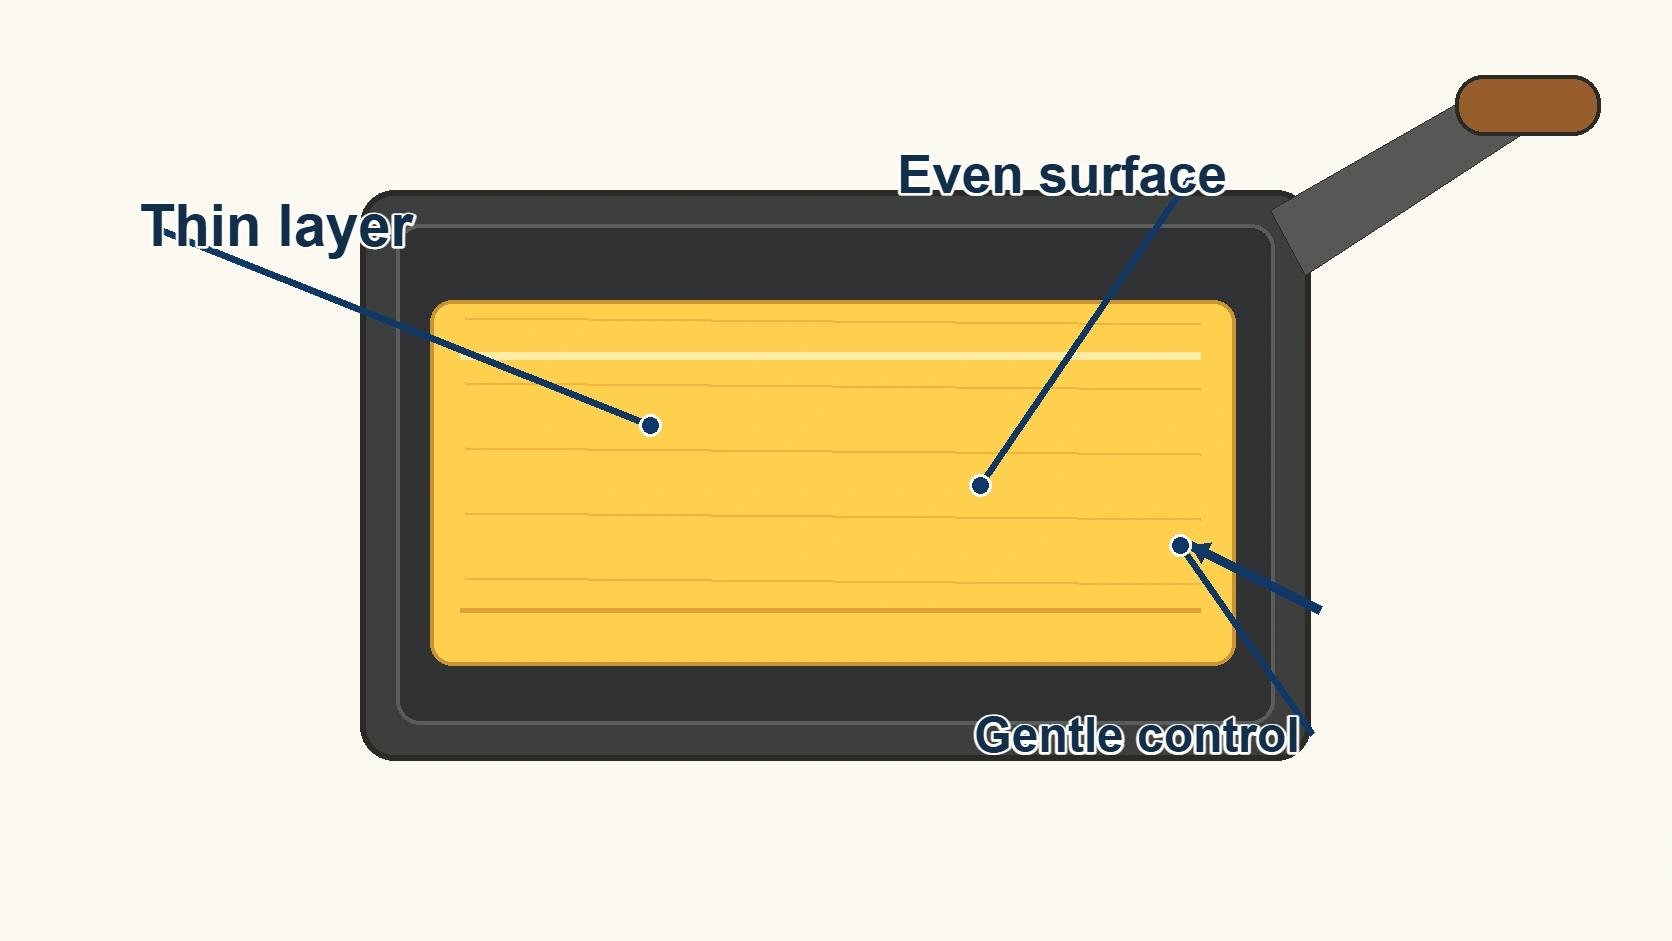
Diagram 05: A schematic of spreading one ladleful across the pan.
Building the roll in layers
7. Put the eel on the egg when the first layer is half-set
When the first egg layer is half-set, place the prepared eel on it and begin rolling with the eel as the core. The diagram shows a clear starting edge for readability, but the source does not specify a distance from the rim. The useful rule is the relationship: position the eel where the egg can enclose it.
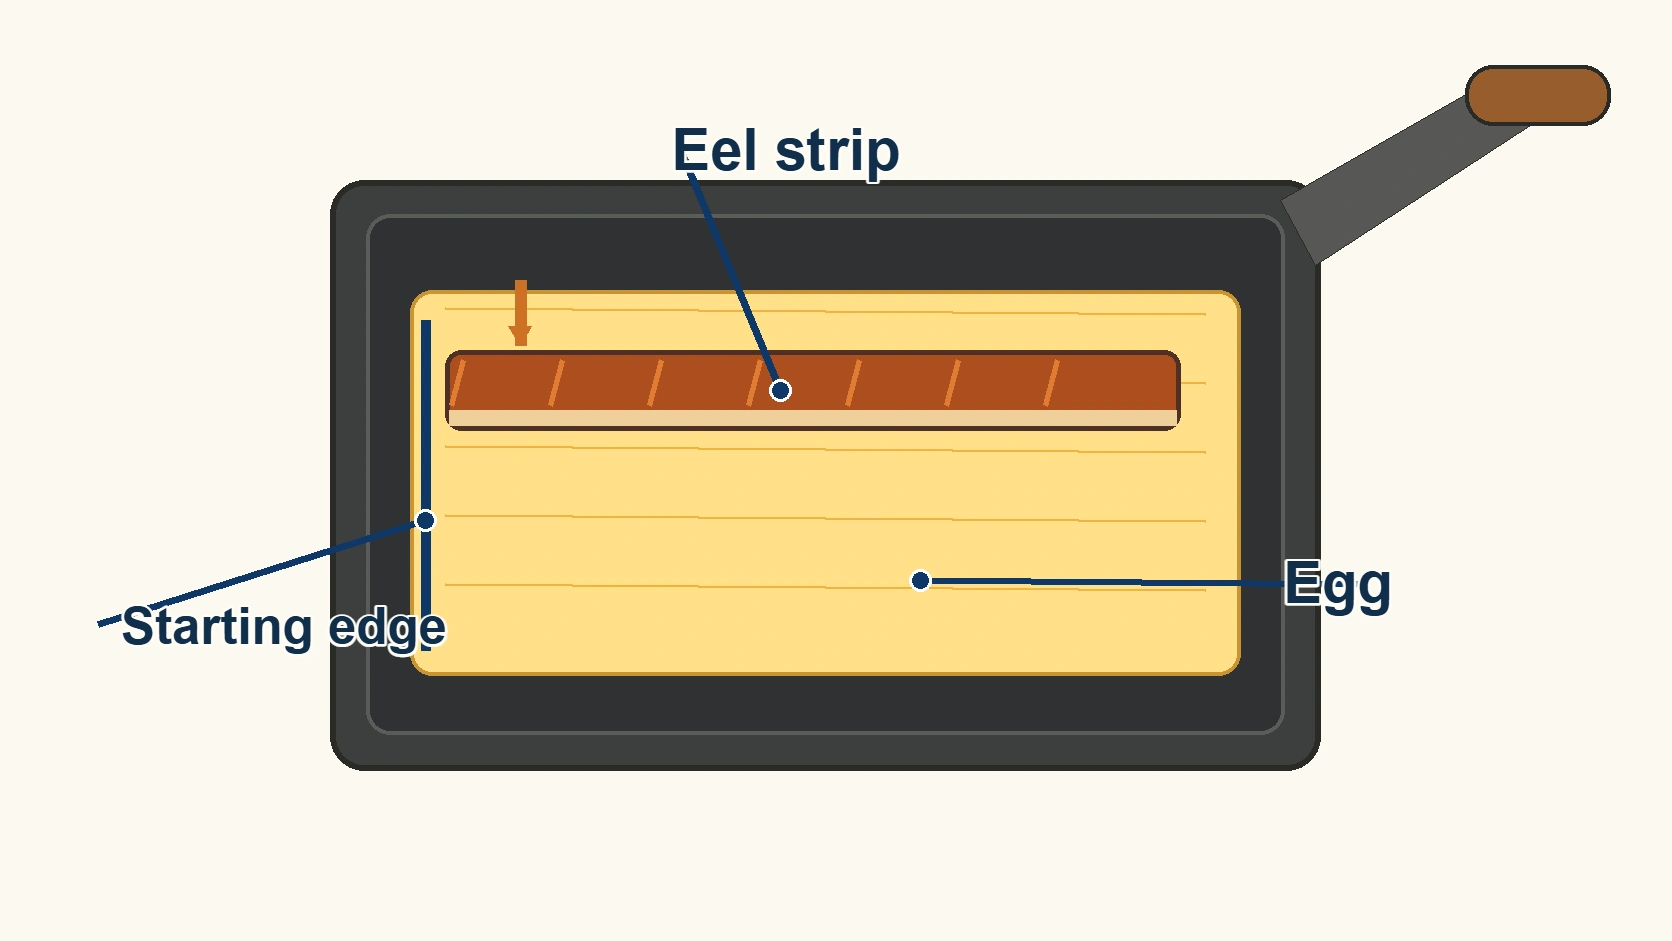
Diagram 06: Place eel on the half-set egg so it can become the core.
8. Use the first roll to enclose the eel
The first turn brings the eel inside the egg and creates a compact roll that can receive the next addition of egg. Kikkoman says to use the eel as the core and roll it, but it does not prescribe wrist angles or an exact number of turns. If the egg begins to tear, supporting the roll rather than pulling it is a practical adjustment, not a measured guarantee.
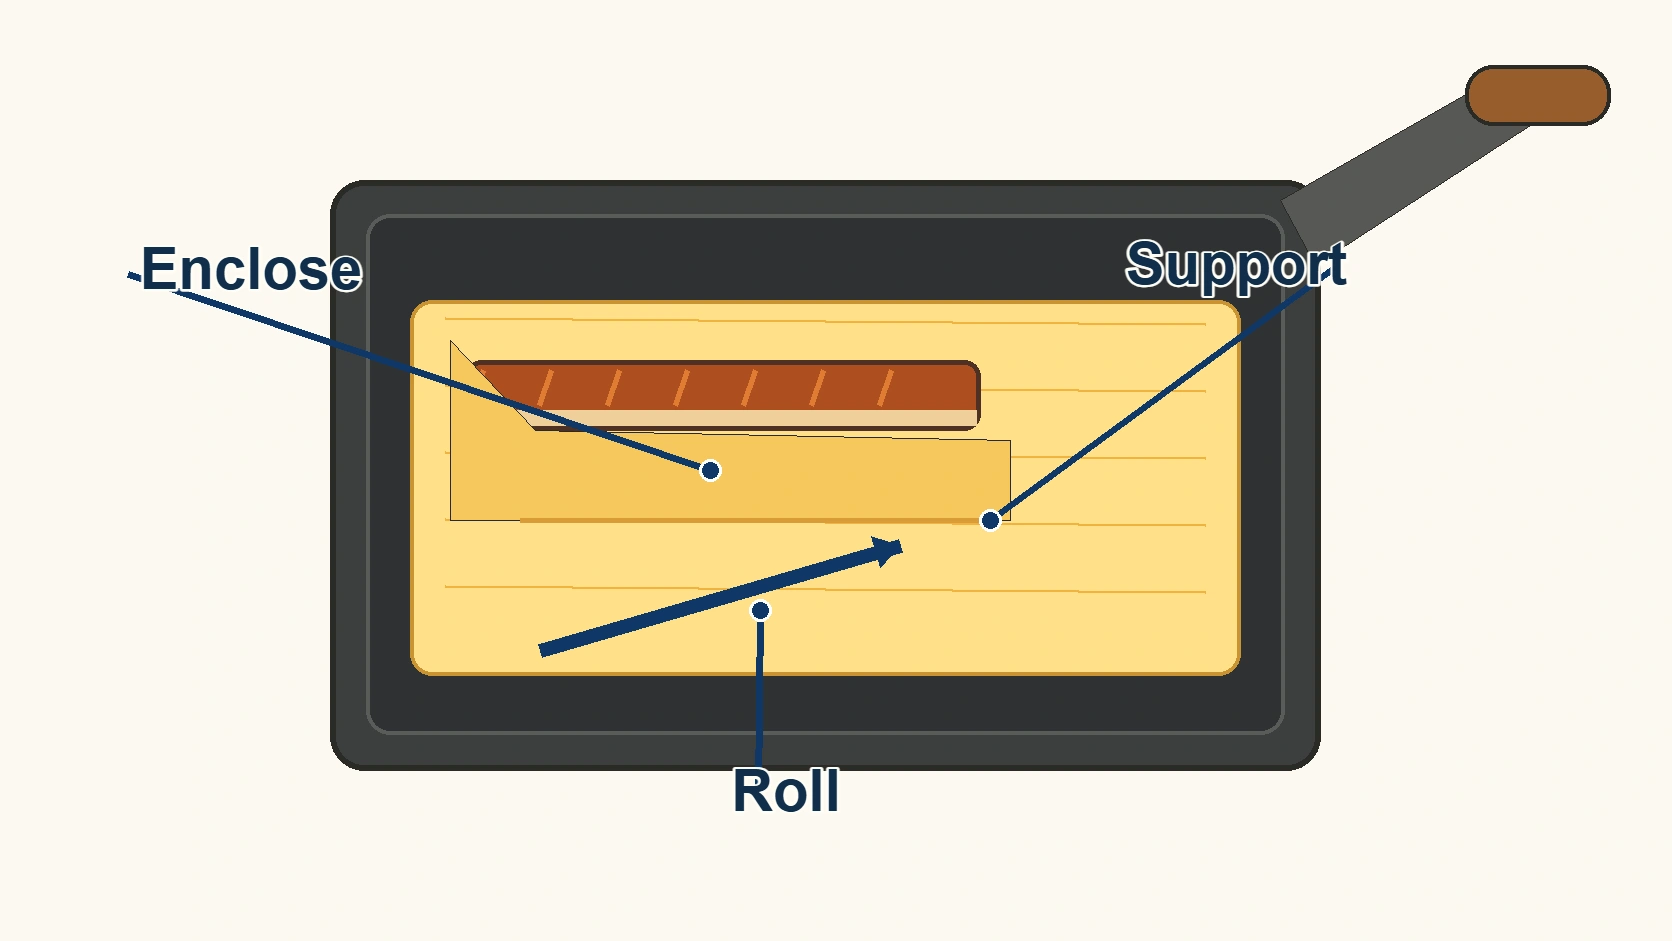
Diagram 07: The first roll captures the eel inside the egg.
9. Re-oil lightly, add egg one ladleful at a time, and roll again
Once the core is formed, apply another thin film of oil and add the egg mixture one ladleful at a time. Let each fresh layer join the existing roll, then continue in the manner of dashimaki tamago. The official wording is to finish it fluffy. This is not a method in which all of the remaining egg is poured in at once.
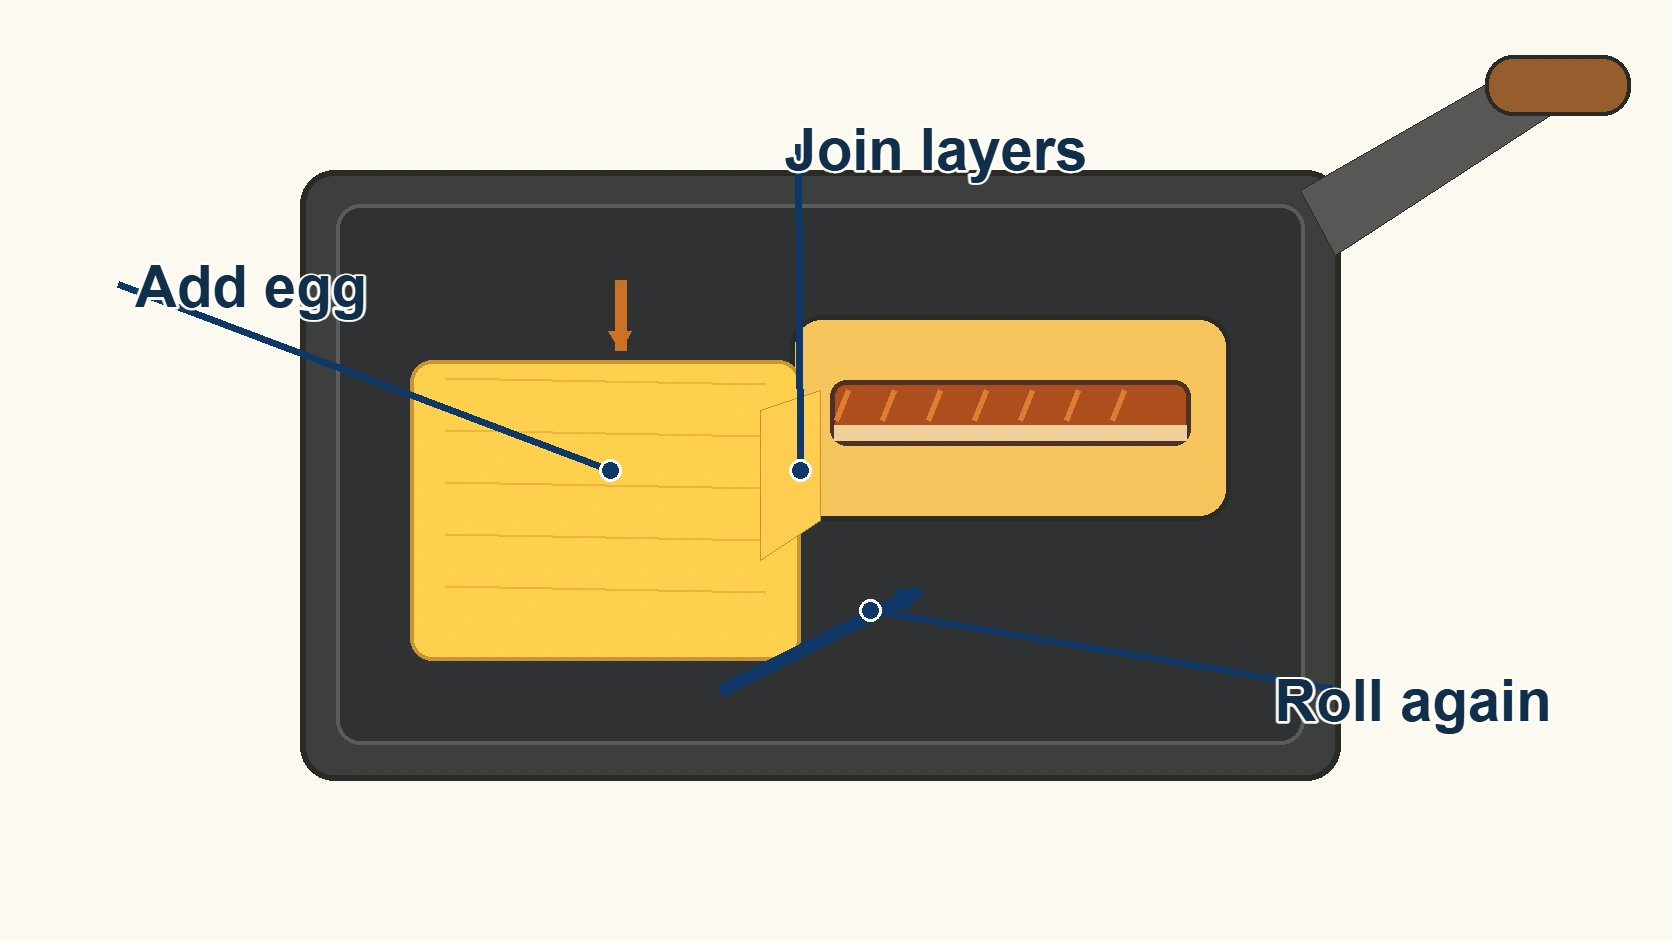
Diagram 08: Lightly re-oil, add egg one ladleful at a time, and keep rolling.
Finishing and handling problems
10. Shape with a bamboo mat, cut into four, and serve
Transfer the cooked roll to a bamboo rolling mat and shape it. Cut it into 4 portions, plate, add grated daikon, and drizzle with a little soy sauce. The official recipe does not give a fixed resting time in the mat, so none is invented here. Use normal care with hot steam and the knife while cutting.
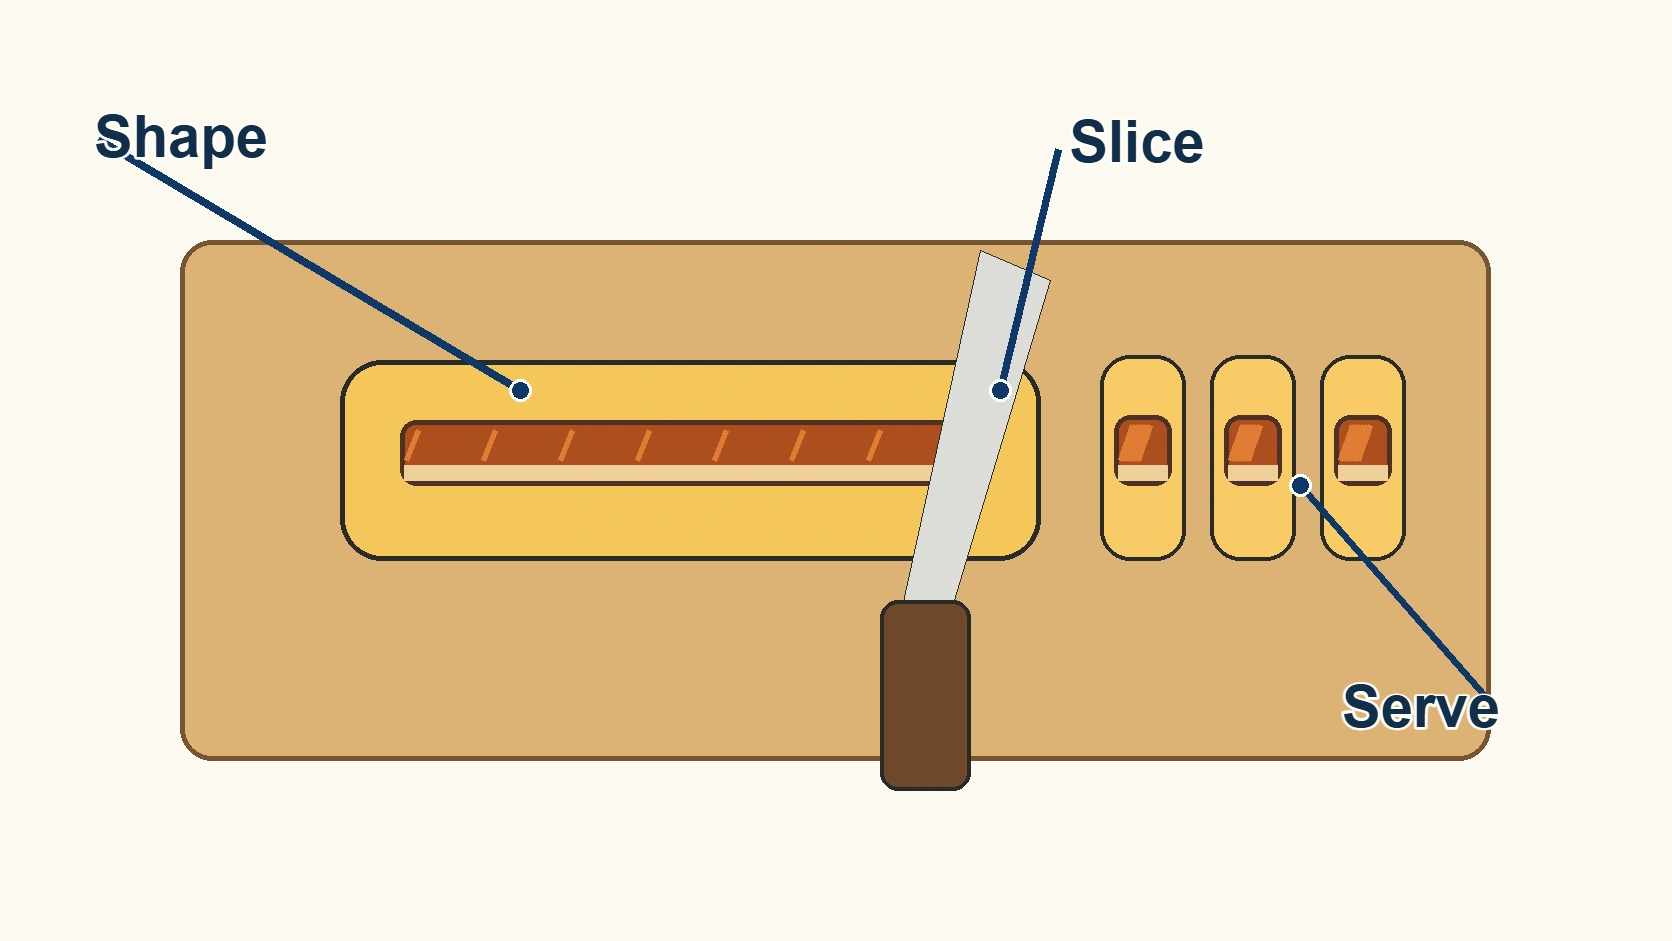
Diagram 09: Shape with a bamboo mat, then cut into four for serving.
Read common failures by appearance, not as proven diagnoses
The official recipe does not publish a failure-diagnosis table. The checks below are therefore editorial troubleshooting prompts for returning to the relevant step, not experimental findings or claimed success rates.
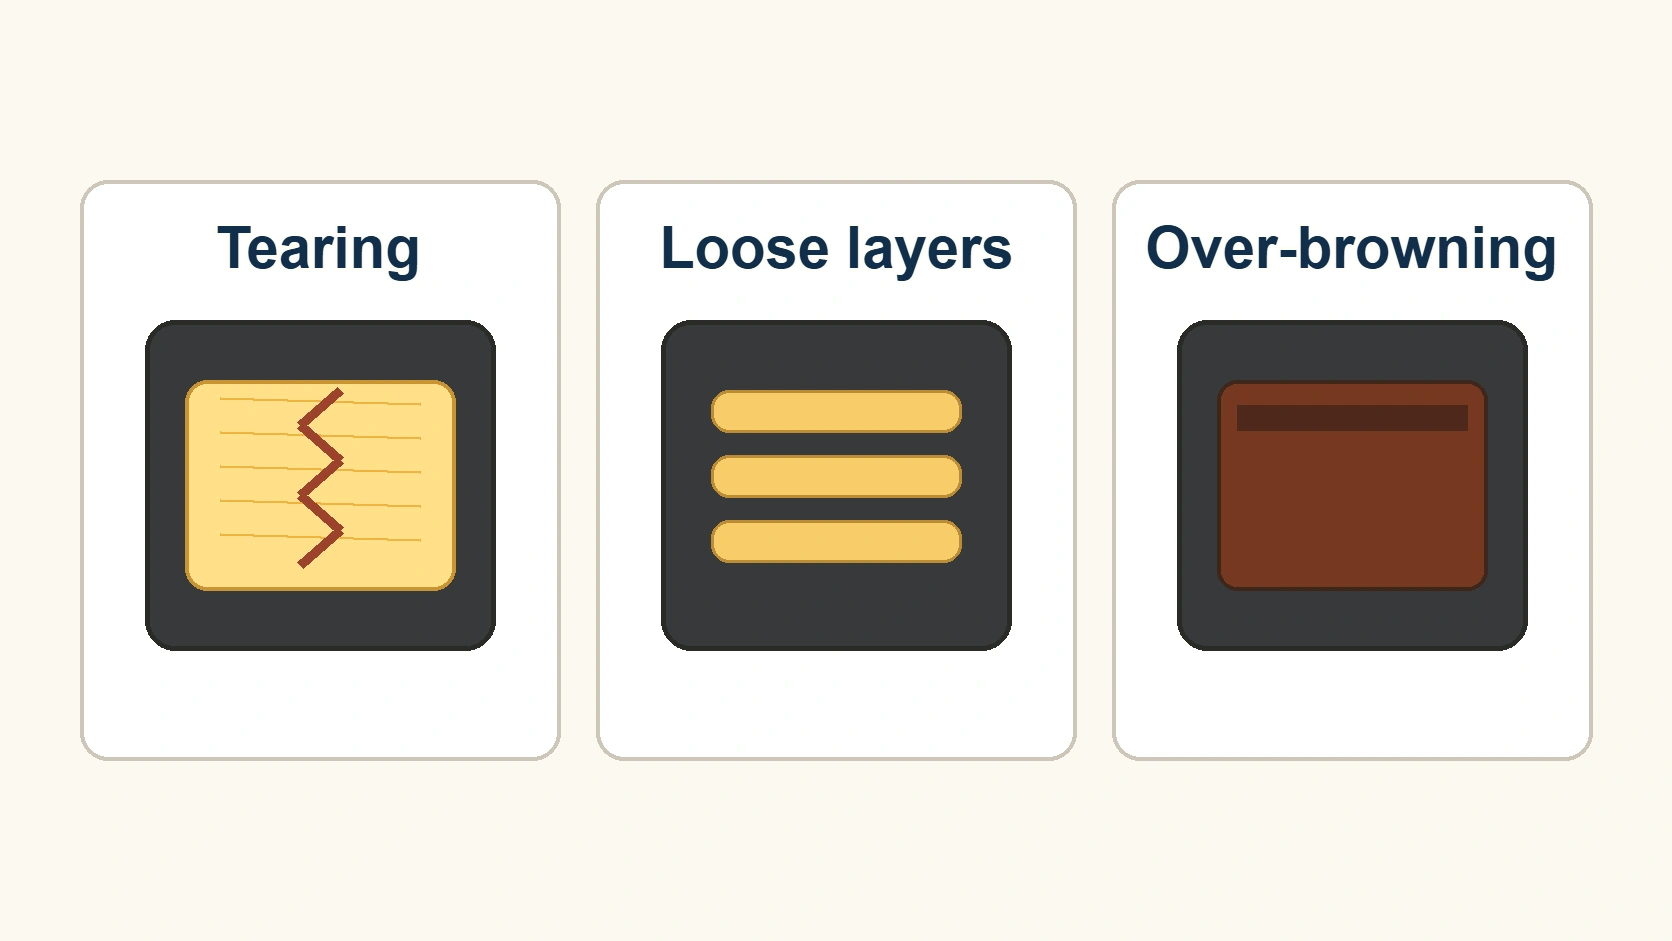
Diagram 10: Visual troubleshooting categories used to review the relevant step.
Food safety: “half-set” is an intermediate step, not the final safety standard
Kikkoman’s instruction to add the eel when the egg is “half-set” describes the moment for starting the roll. Japan’s Ministry of Health, Labour and Welfare advises that foods cooked by heating should generally be heated sufficiently, with a guideline of at least 75°C at the center for 1 minute. Do not reinterpret the intermediate word “half-set” as a guarantee that the finished dish is safe.
Wash hands before and after handling raw eggs and keep utensils and work surfaces clean. The ministry also advises against leaving cooked foods at room temperature for long periods. For leftovers, use clean utensils and containers and divide food into shallow portions so it cools promptly; discard food that has been left too long or seems questionable.
For reheating leftovers, the ministry advises thorough reheating, with 75°C or above as a guideline. This article does not invent a universal storage duration because cooling speed, refrigeration conditions, and ingredients vary between households.
Sources
This is a practical explanation based on the primary sources above. The diagrams are editorial illustrations for understanding the process; they do not document a particular product, a field measurement, a controlled cooking trial, or professional supervision.
Related articles